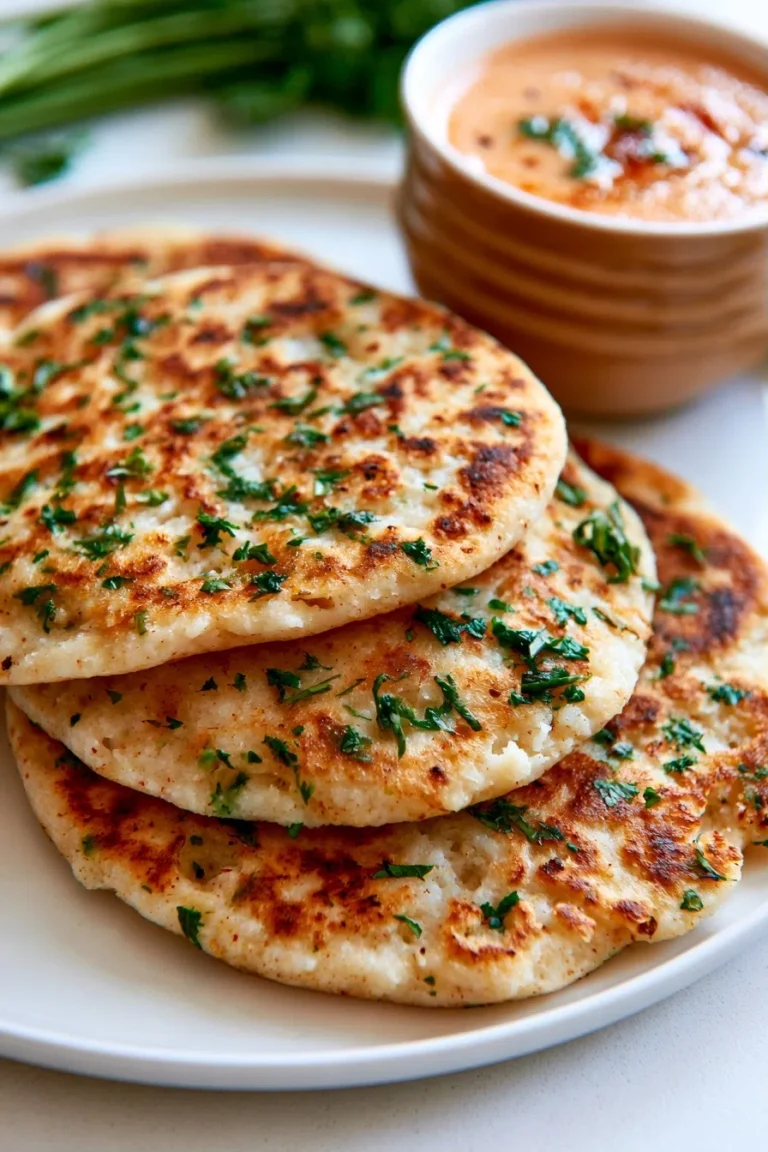
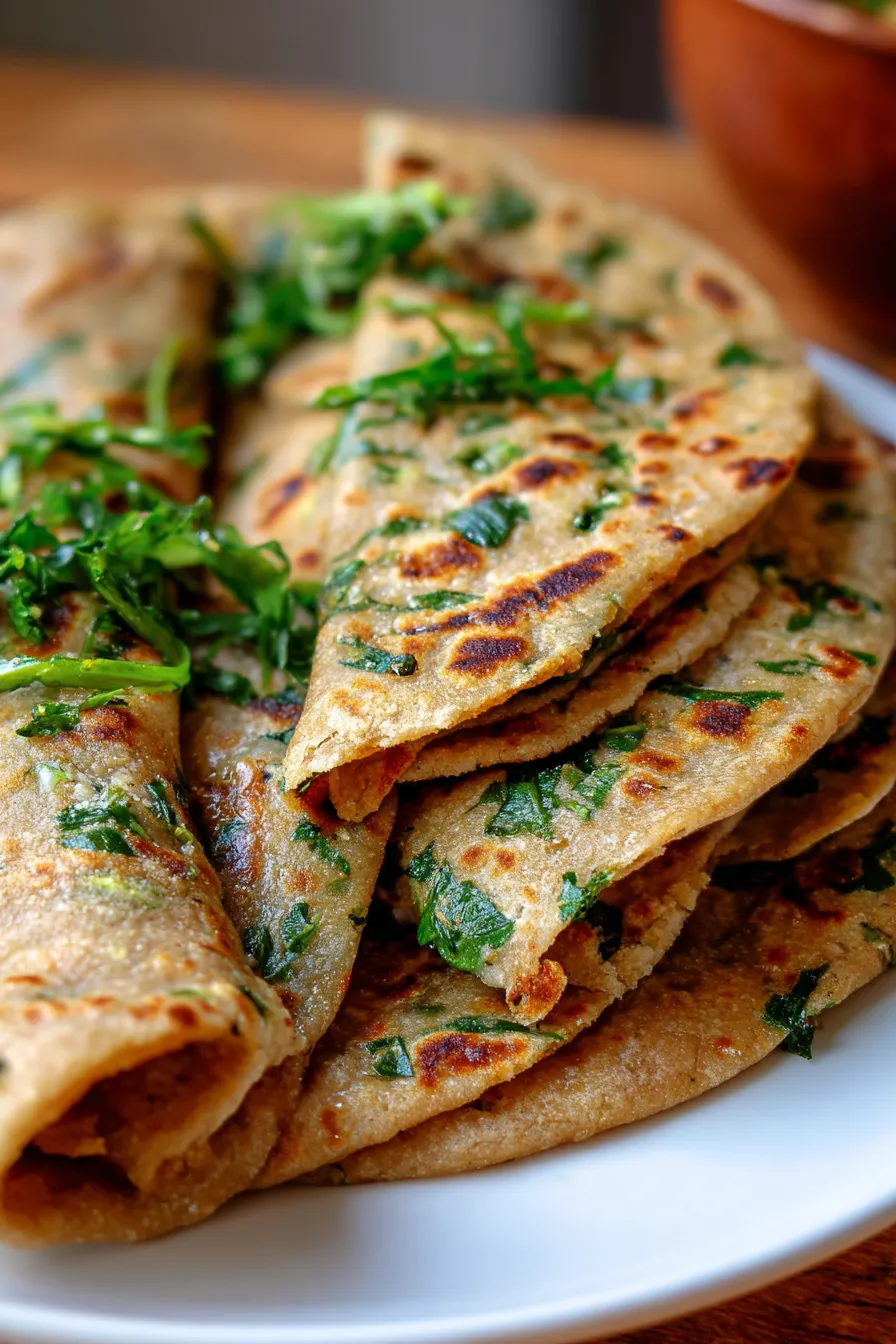
Authentic Methi Paratha: Your New Favorite Healthy Indian Breakfast!
There’s a special kind of magic that happens in the kitchen on a lazy weekend morning, especially when the aroma of fresh fenugreek and warm spices starts to fill the air. I still remember my first time making Authentic Methi Paratha Indian Recipes | Healthy Breakfast with my grandmother. She always said, “Food cooked with love tastes the best,” and her kitchen was truly the heart of our home.
That memory, and the countless breakfasts since, inspired me to perfect this recipe. This isn’t just any paratha; it’s a tested, family-favorite recipe that brings that cherished Indian comfort food right to your table. It’s a wholesome Indian breakfast, a satisfying lunch, or even a quick weeknight dinner option that everyone will adore. Get ready to fall in love with this flavorful, nourishing flatbread!
Why You’ll Love This Recipe
❤️ Here’s why this Authentic Methi Paratha will become a cherished part of your culinary repertoire:
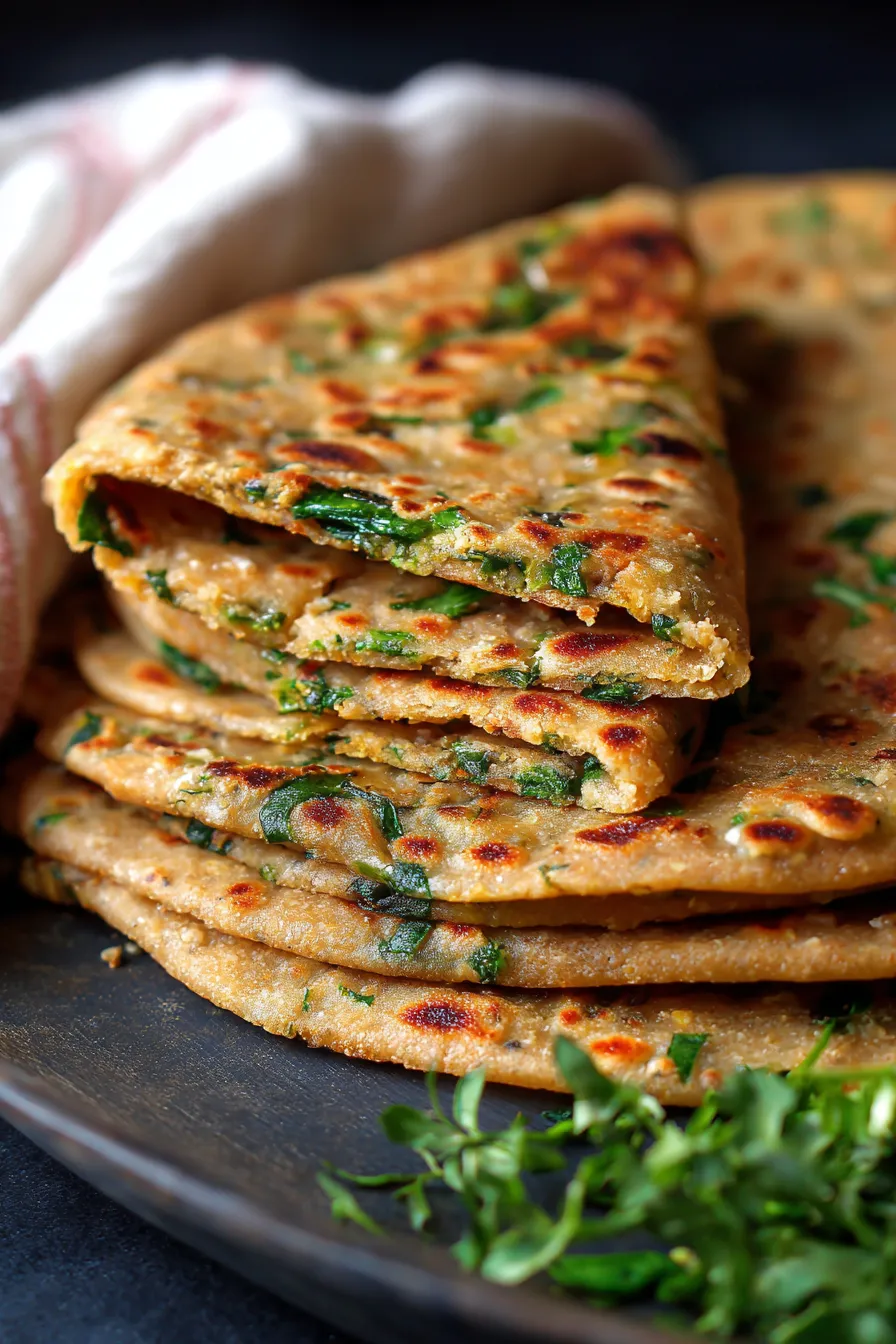
- Incredibly Flavorful: The unique, slightly bitter yet aromatic taste of fresh fenugreek (methi) leaves, combined with subtle spices, creates a truly unforgettable flavor profile. It’s savory, earthy, and perfectly balanced.
- Wholesome & Nutritious: Made primarily with whole wheat flour and fresh fenugreek, these parathas are packed with fiber, vitamins, and minerals. Fenugreek is known for its incredible health benefits, making this a breakfast you can feel good about.
- Amazingly Versatile: While perfect for a healthy breakfast, Methi Paratha also shines as a light lunch, a side with your favorite curry, or even a delightful snack. It pairs beautifully with yogurt, pickle, or a hot cup of chai.
- Simple to Master: Don’t be intimidated by making Indian bread from scratch! Our step-by-step instructions are designed for home cooks of all skill levels, ensuring a successful and delicious outcome every time.
- Great for Meal Prep: You can prepare the dough in advance or even cook the parathas and freeze them for quick meals later in the week. This makes healthy eating effortless, even on busy days.
- Comfort Food at Its Best: There’s something so comforting about a warm, freshly made paratha. It’s a taste of home, a hug in food form, and guaranteed to bring a smile to your face.
What You Need
You only need a few simple pantry staples and fresh fenugreek leaves for this recipe! Check the full printable recipe card below for detailed measurements and a complete list of ingredients.
Expert Tips
💡 Achieving the perfect Methi Paratha is easy with these insider tips:
- Prepare Your Methi Properly: Always wash fenugreek leaves thoroughly to remove any dirt. To reduce bitterness, you can blanch the leaves quickly in hot water for 2-3 minutes, then drain and squeeze out excess water before chopping. However, for a truly authentic and robust flavor, many prefer to use raw, finely chopped methi.
- Dough Consistency is Key: The dough should be soft, pliable, and smooth, but not sticky. It should feel like an earlobe! If it’s too stiff, your parathas will be hard. If it’s too sticky, they will be difficult to roll. Adjust water or flour gradually until you reach the right texture.
- Rest the Dough: Allowing the dough to rest for at least 20-30 minutes helps the gluten relax. This makes the dough much easier to roll and results in softer, more tender parathas. Don’t skip this crucial step!
- Master the Rolling Technique: For perfectly round parathas, apply even pressure while rolling. Use a little dry flour to prevent sticking, but avoid excessive flour as it can make the parathas tough. Roll them to an even thickness for uniform cooking.
- Hot Tawa is Essential: Cook parathas on a medium-hot tawa (griddle or flat pan). If the tawa isn’t hot enough, the parathas will be chewy and dry. If it’s too hot, they will burn before cooking through. You’re looking for small golden-brown spots to appear.
- Use Ghee Generously (but not excessively): Ghee (clarified butter) adds incredible flavor and helps the parathas cook evenly and develop a beautiful golden crust. Apply it to both sides as you cook. For a lighter option, you can use oil.
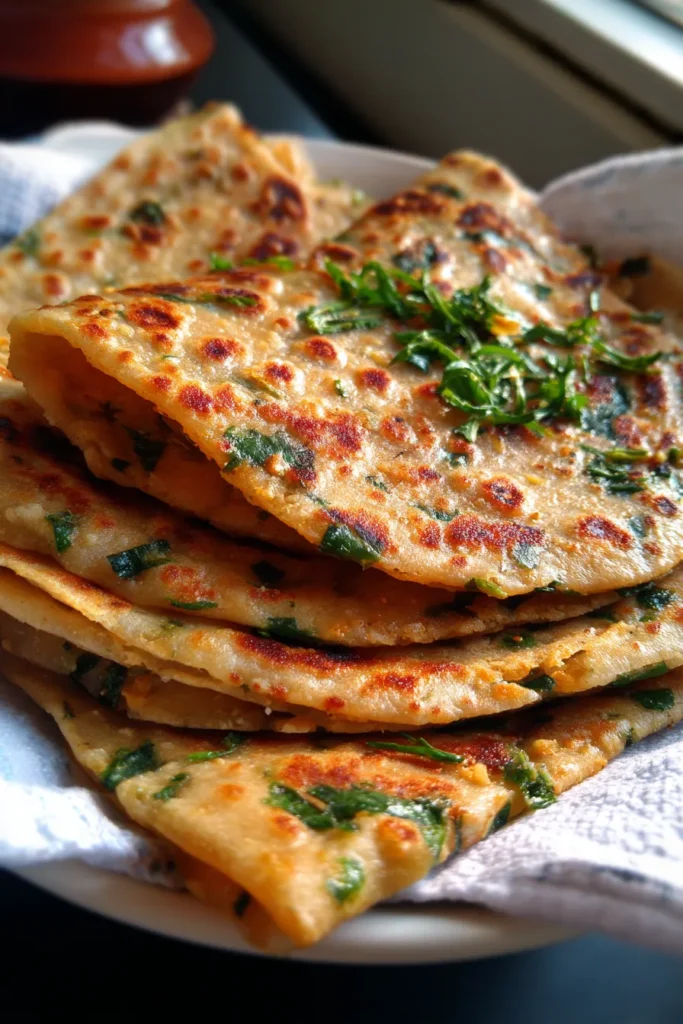
- Serve Immediately: Methi Parathas are best enjoyed fresh off the tawa. Their warmth and crispness are truly unmatched when served hot. Keep them warm in a foil-lined container if making a batch.
Variations & Substitutions
Feel free to get creative with your Methi Paratha! Here are some ideas:
- Gluten-Free: While whole wheat flour is traditional, you can experiment with a gluten-free flour blend. You might need to adjust the water content and handle the dough more gently.
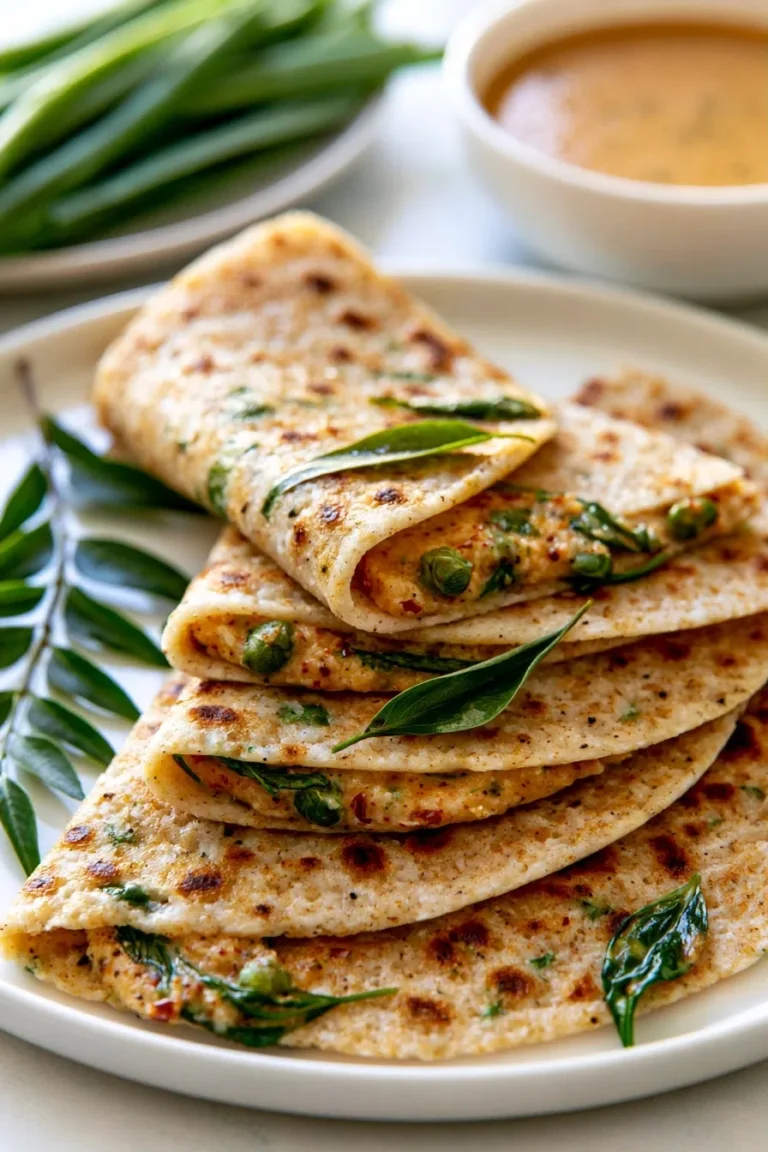
- Add More Greens: Incorporate finely chopped spinach (palak), cilantro, or dill along with the methi for an extra boost of nutrition and flavor.
- Spice It Up: For a spicier kick, increase the amount of green chilies or add a pinch of red chili powder to the dough. A touch of garam masala can also elevate the flavors.
- Vegan Option: Simply substitute ghee with any plant-based oil like olive oil, canola oil, or coconut oil to make these parathas completely vegan.
- Stuffed Paratha: For a heartier meal, you can stuff the paratha with a spiced potato (aloo) mixture or paneer (Indian cheese) filling before rolling.
Storage & Freezing
Methi Parathas are wonderful fresh, but they also store well for future enjoyment!
- Cooked Parathas: Once cooled completely, stack them with parchment paper in between (to prevent sticking) and store in an airtight container in the refrigerator for up to 3-4 days. Reheat gently on a tawa or microwave.
- Freezing Cooked Parathas: After cooking and cooling, stack them with parchment paper and place in a freezer-safe bag or container. They can be frozen for up to 2-3 months. To reheat, thaw at room temperature, then warm on a hot tawa with a little ghee or oil until soft and warm.
- Freezing the Dough: You can also freeze portions of the dough. Wrap tightly in plastic wrap and place in a freezer bag. Thaw overnight in the refrigerator before rolling and cooking.
FAQ
Q: What is fenugreek (methi)?
A: Fenugreek, or methi, is an herb commonly used in Indian cuisine. Both its leaves (fresh or dried) and seeds are prized for their distinct, slightly bitter, and aromatic flavor, as well as their numerous health benefits.
Q: How do I prevent Methi Paratha from being too bitter?
A: Using fresh, tender fenugreek leaves is key. You can also reduce bitterness by blanching the chopped leaves in hot water for a few minutes before adding them to the dough, or by soaking them in lightly salted water for 15-20 minutes, then squeezing out the water.
Q: Can I use dried fenugreek leaves (kasoori methi) instead of fresh?
A: Yes, you can! If using kasoori methi, crumble about 2-3 tablespoons into the dough. It provides a concentrated flavor, so adjust to your taste. Keep in mind the texture will be different from fresh leaves.
Q: What should I serve with Methi Paratha?
A: Methi Paratha is traditionally served with a dollop of fresh yogurt, a spicy pickle (achaar), or a tangy chutney. It also pairs wonderfully with a simple dal (lentil soup), raita, or a cup of hot ginger chai.
Q: My parathas are turning out hard. What am I doing wrong?
A: This usually happens if the dough is too stiff or if it hasn’t rested enough. Ensure your dough is soft and pliable, and always let it rest for at least 20-30 minutes. Overworking the dough can also lead to a tough texture. Also, make sure your tawa is hot enough.
And there you have it, friends! A simple, yet profoundly satisfying Authentic Methi Paratha recipe that’s sure to become a beloved staple in your home. Whether it’s for a leisurely weekend breakfast or a nourishing meal on a busy weekday, these parathas deliver on flavor, health, and comfort. Give it a try, and don’t forget to share your creations! Happy cooking!
Pin this recipe for later so you can easily find it when that craving for something wholesome and delicious strikes!
Authentic Methi Paratha: Healthy Indian Breakfast Recipe
Ingredients
- 2 cups whole wheat flour (atta)
- 1 cup fresh fenugreek (methi) leaves, finely chopped
- 1/4 cup finely chopped onion (optional)
- 1-2 green chilies, minced (adjust to taste)
- 1 tsp ginger-garlic paste
- 1/2 tsp turmeric powder
- 1/2 tsp red chili powder (optional)
- 1/2 tsp carom seeds (ajwain)
- 1/2 tsp cumin powder
- Salt to taste
- 2 tbsp yogurt (dahi)
- 1 tbsp ghee or oil, plus more for cooking
- Warm water, as needed for kneading
Instructions
- Step 1 Wash and finely chop fenugreek leaves. If blanching to reduce bitterness, do so now, then squeeze out excess water.
- Step 2 In a large bowl, combine whole wheat flour, chopped fenugreek, onion (if using), green chilies, ginger-garlic paste, turmeric, red chili powder, carom seeds, cumin powder, and salt.
- Step 3 Add yogurt and 1 tablespoon of ghee/oil. Mix everything together with your fingertips until crumbly.
- Step 4 Gradually add warm water, a little at a time, and knead until you form a soft, pliable dough. The dough should not be sticky. Knead for 5-7 minutes until smooth.
- Step 5 Cover the dough with a damp cloth and let it rest for at least 20-30 minutes at room temperature.
- Step 6 Divide the dough into 6-8 equal portions. Roll each portion into a smooth ball.
- Step 7 Lightly dust your rolling surface and rolling pin with flour. Take one dough ball and flatten it slightly. Roll it out into a 6-7 inch circle of even thickness.
- Step 8 Heat a tawa (griddle or flat pan) over medium heat. Once hot, place the rolled paratha onto it.
- Step 9 Cook for about 30 seconds to 1 minute, until small bubbles appear on the surface. Flip the paratha.
- Step 10 Apply about 1/2 teaspoon of ghee or oil on the top side. Cook for another minute, then flip again.
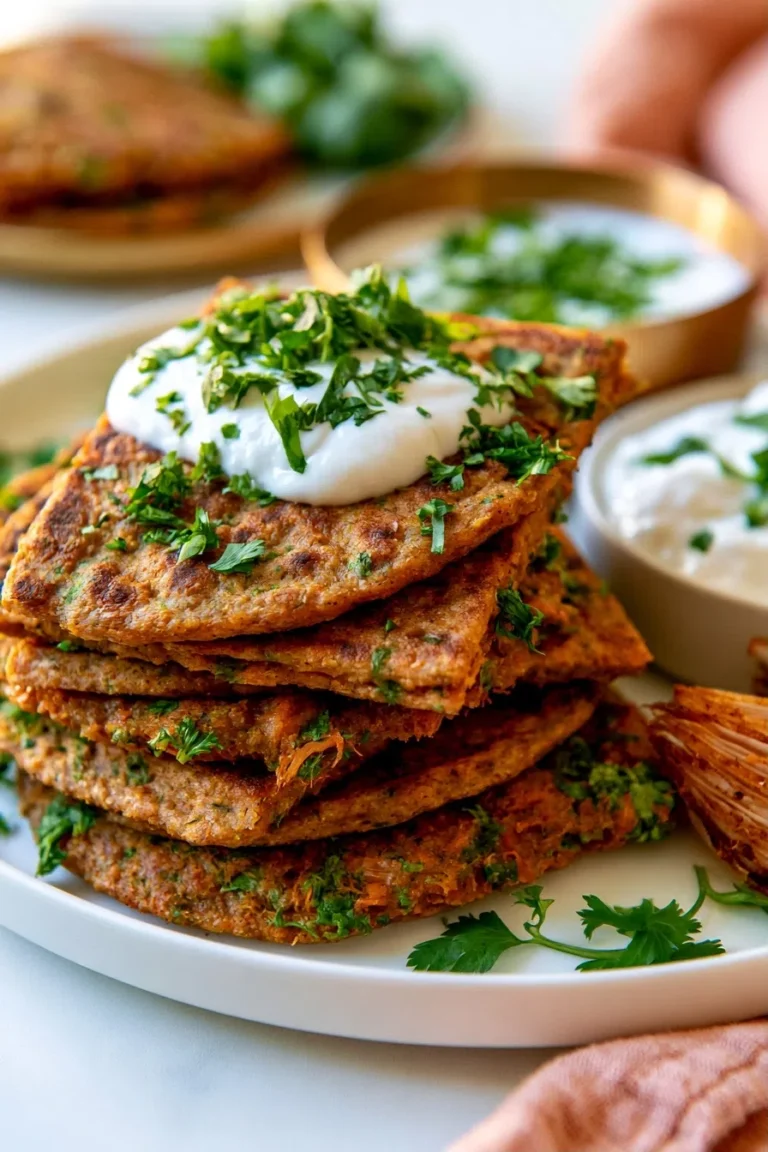
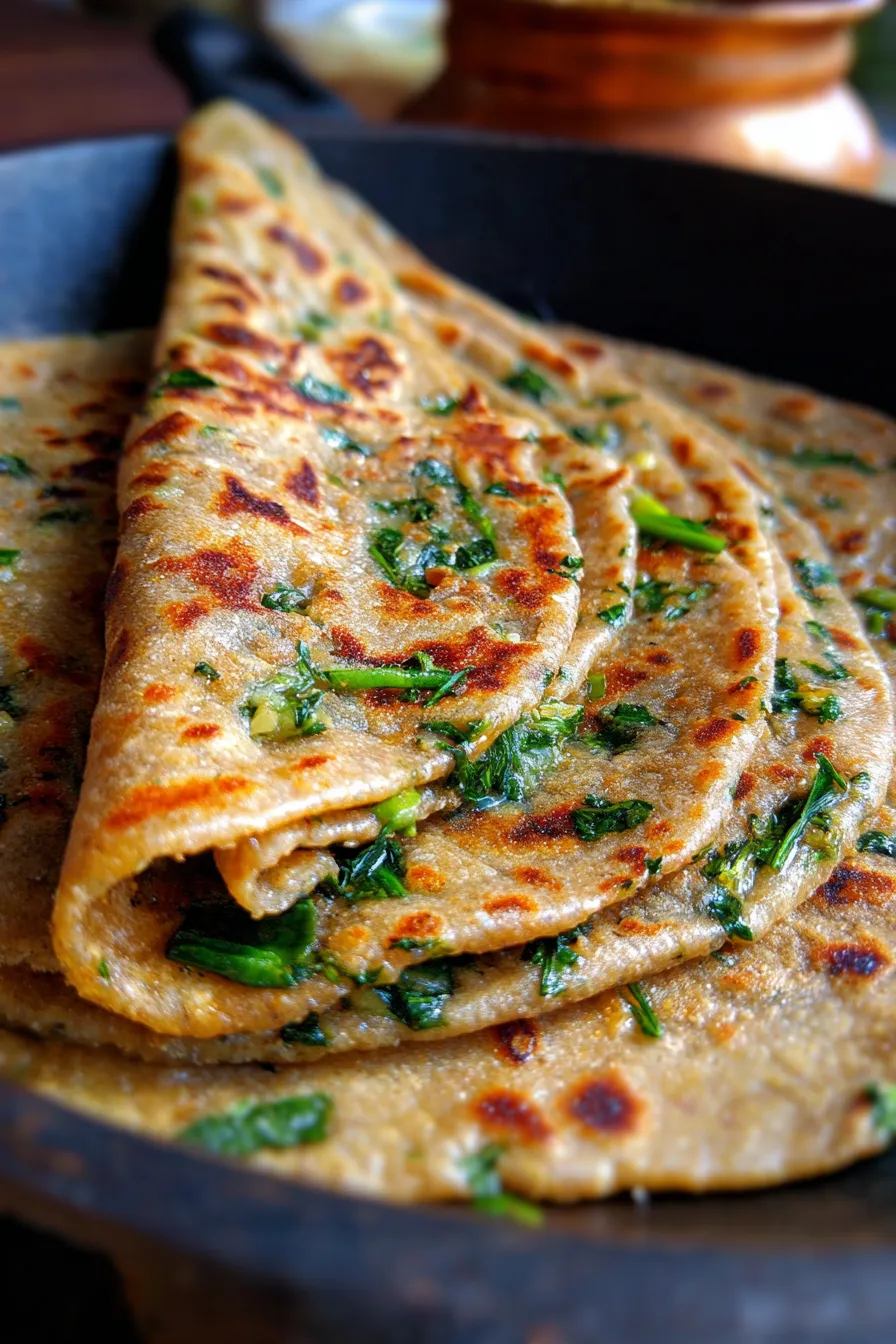
- Step 11 Apply ghee/oil on the other side. Press gently with a spatula and cook until both sides are golden brown and cooked through, with a few crisp spots.
- Step 12 Remove from the tawa and serve hot with yogurt, pickle, or chutney. Repeat with the remaining dough balls.