Easy Breakfast Sliders: Your Go-To for Busy Mornings
I remember those frantic weekday mornings, juggling coffee, school lunches, and trying to get myself ready, all while my stomach grumbled. Breakfast often felt like an afterthought, a quick grab-and-go bar if I was lucky. But then, one lazy Saturday, I experimented with these Breakfast Sliders for Busy Mornings. The idea was simple: mini breakfast sandwiches baked all at once. My kids devoured them, asking for more. From that day, they became our absolute family favorite, transforming our rushed weekdays into something much calmer and more delicious.
This recipe is a game-changer for anyone looking for easy breakfast ideas or make-ahead meals. It’s incredibly versatile, perfect for feeding a crowd, or simply prepping a week’s worth of quick, hearty breakfasts. Imagine waking up to a warm, savory slider without any fuss!
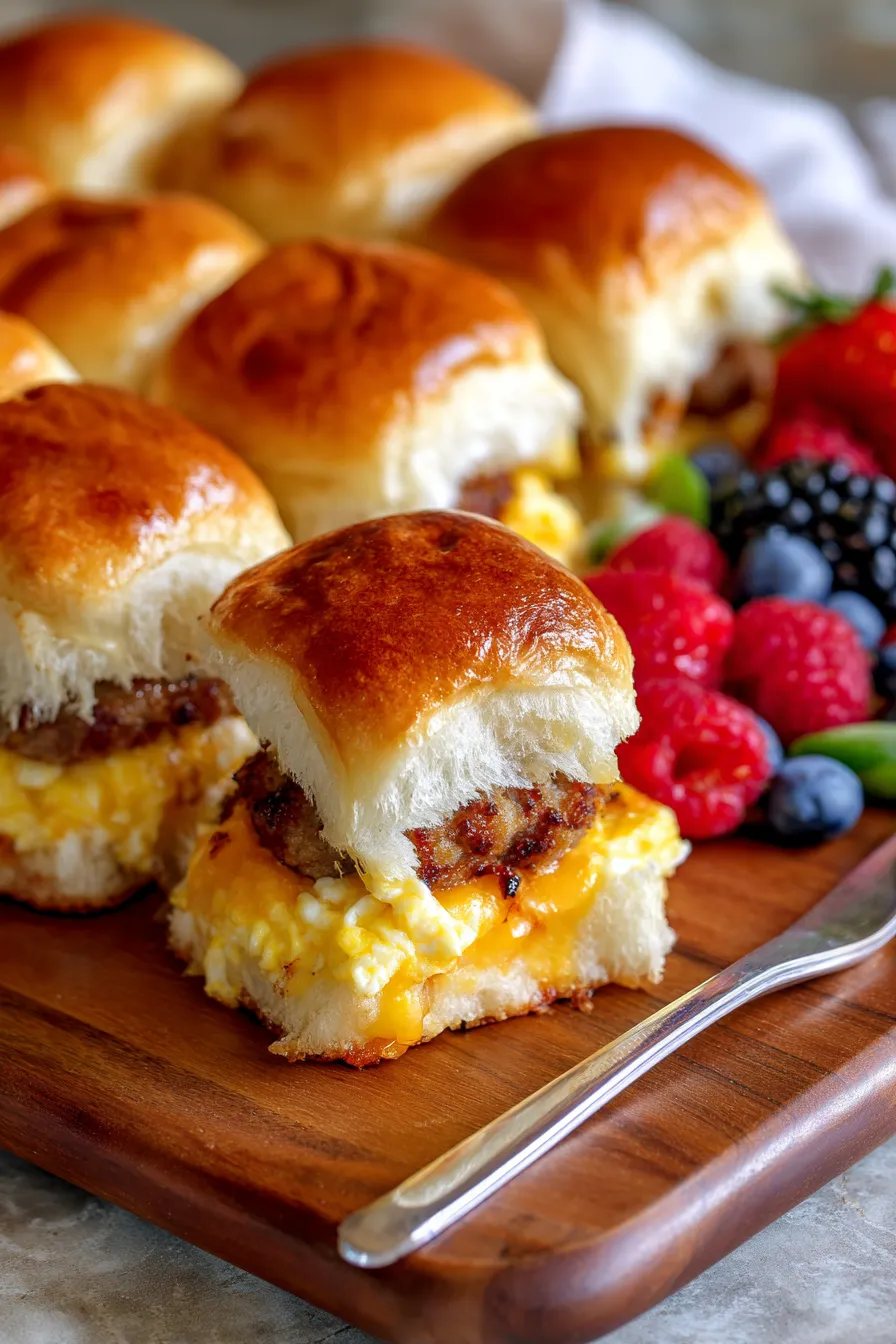
This perfectly tested recipe brings together fluffy eggs, savory sausage, and melty cheese on soft Hawaiian rolls, creating the ultimate comfort food breakfast. It’s the kind of dish that makes mornings a little brighter and a lot more delicious.

Why You’ll Love This Recipe
❤️ Here are all the reasons these breakfast sliders will become your new go-to:
- Effortless Prep: These sliders come together in a flash, requiring minimal effort. They are perfect for those mornings when time is of the essence but you still crave a homemade meal.
- Crowd-Pleaser: Planning a brunch? Hosting overnight guests? These sliders are guaranteed to be a hit with everyone, from picky eaters to gourmet enthusiasts. They always disappear fast!
- Make-Ahead Magic: Assemble them the night before, cover, and refrigerate. Just pop them in the oven in the morning for a stress-free breakfast. Your future self will absolutely thank you for this convenience.
- Customizable: The beauty of sliders is their versatility! Easily swap out ingredients to suit everyone’s tastes or dietary preferences. Think crispy bacon, diced ham, an array of colorful veggies, or different cheese blends.
- Portable & Kid-Friendly: Their mini size makes them ideal for tiny hands and perfect for eating on the go. Say goodbye to boring cereal and hello to a fun, substantial breakfast option for the kids!
- Hearty & Satisfying: Packed with protein from eggs and sausage, these sliders will keep you full and energized, preventing those mid-morning hunger pangs and keeping you focused until lunchtime.
- Irresistibly Delicious: The combination of sweet, soft Hawaiian rolls, savory fillings, and a buttery-garlic-Dijon topping creates an explosion of flavors and textures that is simply divine. It’s a flavor profile that keeps you coming back for more.
- Perfect for Meal Prep: Bake a big batch on Sunday, and you’ll have delicious, ready-to-reheat breakfasts throughout the week. They’re a smart solution for nutritious meal planning.
- Simple Ingredients: You won’t need a trip to a specialty store! Most of the ingredients for this recipe are likely already staples in your pantry and fridge, making it easy to whip up anytime.
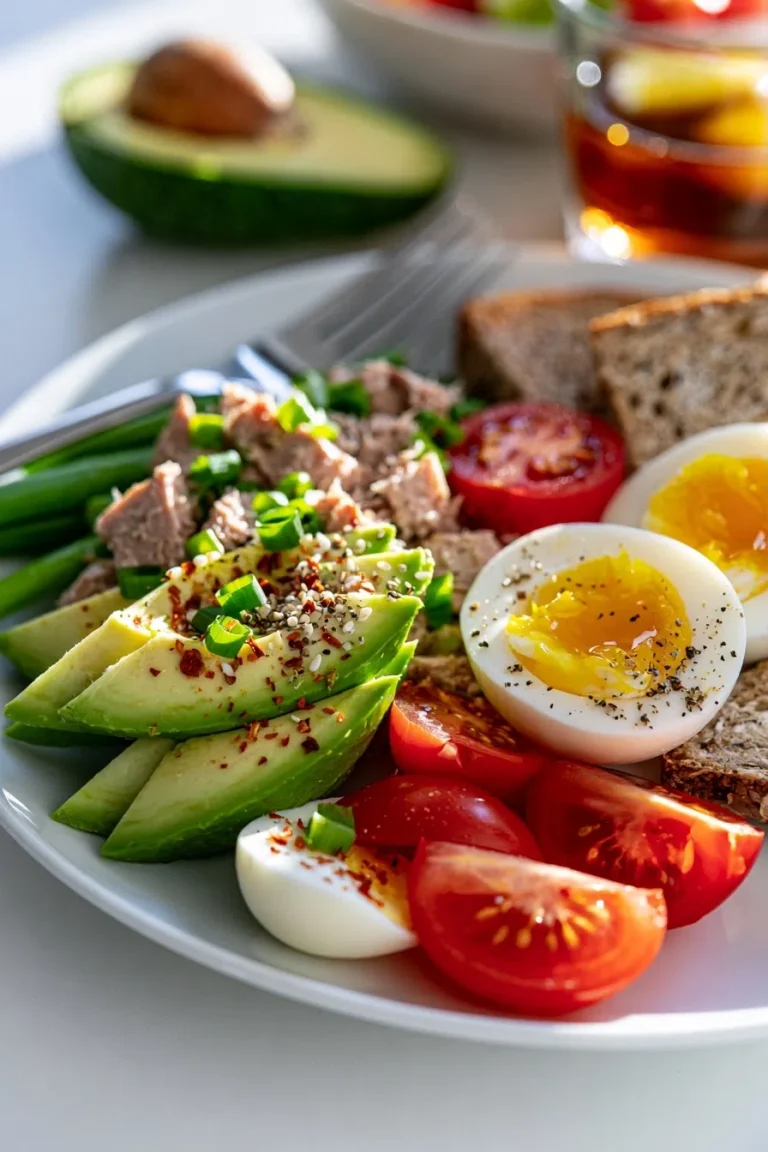
- Versatile Serving: Enjoy them on their own as a complete meal, or pair them with a side of fresh fruit, crispy hash browns, or a yogurt parfait for an even more elaborate brunch spread.
What You Need
You only need a few simple pantry staples for this recipe! Check the full printable recipe card below for detailed measurements.

Expert Tips
💡 Elevate your breakfast slider game with these pro tips:
- 💡 Don’t Overcook the Eggs: For the fluffiest eggs, cook them just until set but still slightly moist. Remember, they will continue to cook a bit in the oven, so slightly undercooking them initially helps prevent dryness.
- 💡 Press Down the Rolls: After layering your fillings and placing the top rolls, gently press down on the entire slab. This helps compact the ingredients, ensuring the sliders hold together better and absorb more of that flavorful butter topping.
- 💡 Butter Mixture is Key: The melted butter, garlic, Dijon, and parsley mixture is non-negotiable! It’s what gives these sliders their irresistible golden-brown crust and infuses them with an incredible depth of savory flavor. Ensure your butter is fully melted and all seasonings are well incorporated.
- 💡 Cover for Even Cooking: For the first part of baking, cover the dish loosely with aluminum foil. This traps steam, ensuring the cheese melts beautifully and the rolls warm through without over-browning. Remove the foil for the final 5-10 minutes to achieve that perfect golden-crisp top.
- 💡 Pre-Cook Meat Thoroughly: Any sausage or bacon should be fully cooked and, crucially, drained of all excess grease before adding to the sliders. This prevents your rolls from becoming soggy and ensures a pleasant texture.
- 💡 Batch Baking for a Crowd: If you’re doubling or tripling the recipe for a large gathering, use two separate baking dishes instead of trying to overcrowd one. This ensures even baking and better results for all your sliders.
- 💡 Slice Before Baking (Optional but Recommended): While you can cut the sliders after baking, slicing them into individual portions beforehand can make serving much easier. It also allows more of that delicious butter topping to seep into the sides of each slider. Just be gentle when slicing!
- 💡 Spice It Up: For those who love a bit of heat, sprinkle a pinch of red pepper flakes into the egg mixture or directly into the butter topping. It adds a subtle, warming kick without overpowering the other flavors.
- 💡 Layering Matters: Strategically place cheese both below and above your eggs and meat. This helps create delicious, melty layers and acts as a fantastic ‘glue’ to hold all the components together beautifully.
- 💡 Rest After Baking: Once they come out of the oven, allow the sliders to rest for 5-10 minutes. This short rest allows the cheese to set slightly, making them much easier and cleaner to cut and serve without the filling oozing out.
- 💡 Use Quality Ingredients: As with any recipe, the quality of your ingredients truly shines through. Opt for fresh eggs, a flavorful breakfast sausage, and a good quality cheese for the best possible taste and texture.
- 💡 Don’t Rush the Thaw: If you’re baking sliders that were assembled and frozen unbaked, allow them to thaw overnight in the refrigerator for optimal results. If baking directly from frozen, expect to add a significant amount of extra baking time (30-45 minutes).
- 💡 Check for Doneness: You’ll know your sliders are perfectly baked when the cheese is bubbly and fully melted, and the tops of the Hawaiian rolls are a beautiful, irresistible golden brown.
Variations & Substitutions
- Keto/Low-Carb: To keep it low-carb, swap out the Hawaiian rolls for a low-carb bread option, or even use large grilled portobello mushroom caps as your base.
- Vegetarian: Easily make these vegetarian by omitting the sausage. Instead, load them up with sautéed mushrooms, bell peppers, spinach, or even a layer of seasoned black beans.
- Gluten-Free: Opt for gluten-free slider buns or your favorite gluten-free sandwich bread. Always double-check that other ingredients, like breakfast sausage, are certified GF.
- Dairy-Free: Use dairy-free cheese slices and a plant-based butter alternative for the topping to accommodate dairy sensitivities.
- Meat Alternatives: Get creative with your protein! Substitute breakfast sausage with crumbled turkey sausage, diced ham, crispy bacon, or even shredded chicken for different flavor profiles.
- Cheese Please: Don’t limit yourself to cheddar! Experiment with other melting cheeses like provolone, Monterey Jack, pepper jack for a kick, or a rich Gruyère for an upscale twist.
- Veggies Galore: Boost the nutrition and flavor by incorporating finely diced bell peppers, onions, a handful of fresh spinach, or even a dash of hot sauce into the egg mixture.
- Sweet & Savory Twist: For a delightful contrast, drizzle a tiny bit of pure maple syrup over the sliders before baking. It creates a fantastic sweet and savory combination that’s incredibly addictive.
Storage & Freezing
- Refrigeration: Leftover Breakfast Sliders can be stored in an airtight container in the refrigerator for up to 3-4 days. They reheat wonderfully!
- Reheating: For best results, reheat individual sliders in a toaster oven or air fryer until warmed through and slightly crispy. A microwave works in a pinch, but the rolls might be softer.
- Freezing (Baked): Once the sliders are baked and completely cooled, wrap individual sliders tightly in plastic wrap, then place them in a freezer-safe bag or container. They can be frozen for up to 1-2 months. Reheat from frozen in the microwave or oven (covered with foil to prevent drying) until hot throughout.
- Freezing (Unbaked): Assemble the sliders as directed, but *do not* brush with the butter mixture. Wrap the entire tray tightly in plastic wrap and then aluminum foil. Freeze for up to 1 month. When you’re ready to bake, thaw them overnight in the refrigerator. Then, add the butter topping and bake as directed, potentially adding an extra 5-10 minutes to the baking time.
FAQ
Can I make these ahead of time?
Absolutely! You can assemble these Breakfast Sliders the night before. Just cover them tightly with foil or plastic wrap and refrigerate. In the morning, brush with the butter topping and bake as directed. This makes busy mornings a breeze!
What kind of rolls work best?
Sweet Hawaiian slider rolls are highly recommended as their subtle sweetness perfectly complements the savory fillings. However, any soft slider bun or dinner roll will work well as a substitute, so feel free to use your favorite!
How do I prevent the sliders from getting soggy?
Ensure your cooked meat (sausage, bacon) is well-drained of grease before layering. Also, avoid adding overly wet ingredients. If you’re incorporating vegetables, sauté them first to remove excess moisture. The butter topping also helps create a slight barrier, preventing sogginess.
Can I use different cheeses?
Yes, absolutely! Feel free to experiment with your favorite melting cheeses like Monterey Jack, sharp cheddar, Swiss, or a Colby Jack blend. The key is a cheese that melts well and adds to the rich flavor profile of the sliders.
Are these good for meal prep?
Yes, they are fantastic for meal prep! Once baked and cooled, you can store individual sliders in airtight containers in the fridge for up to 3-4 days, or freeze them for longer storage. They reheat beautifully, making them a convenient option for quick breakfasts or lunches.
There you have it! Your ultimate recipe for Breakfast Sliders for Busy Mornings. These little bundles of joy are sure to become a cherished part of your morning routine, bringing warmth, flavor, and a whole lot of happy smiles to your table. Don’t forget to Pin this recipe for later so you can easily find it whenever those breakfast cravings hit! Enjoy every delicious bite!

Easy Breakfast Sliders for Busy Mornings | Quick Make-Ahead Recipe
Ingredients
- 12 count package Hawaiian sweet rolls
- 1 lb breakfast sausage (pork or turkey), cooked and crumbled
- 8 large eggs, scrambled
- 1 1/2 cups shredded sharp cheddar cheese
- 1/2 cup unsalted butter, melted
- 1 tbsp Dijon mustard
- 1 tsp garlic powder
- 1/2 tsp dried parsley
- Pinch of salt and black pepper to taste
Instructions
- Step 1 Preheat oven to 350°F (175°C). Lightly grease a 9x13 inch baking dish.
- Step 2 Slice the entire slab of Hawaiian rolls horizontally without separating them. Place the bottom halves in the prepared baking dish.
- Step 3 Evenly layer half of the shredded cheddar cheese over the bottom rolls.
- Step 4 Spread the cooked and crumbled breakfast sausage over the cheese layer.
- Step 5 Next, add the scrambled eggs evenly over the sausage.
- Step 6 Top with the remaining shredded cheddar cheese.
- Step 7 Place the top halves of the Hawaiian rolls over the filling.
- Step 8 In a small bowl, whisk together the melted butter, Dijon mustard, garlic powder, dried parsley, salt, and pepper.
- Step 9 Evenly pour and brush the butter mixture over the top of the rolls.
- Step 10 Cover the baking dish loosely with aluminum foil and bake for 20 minutes.
- Step 11 Remove the foil and bake for an additional 5-10 minutes, or until the tops are golden brown and the cheese is bubbly.
- Step 12 Let rest for 5 minutes before slicing into individual sliders and serving warm.