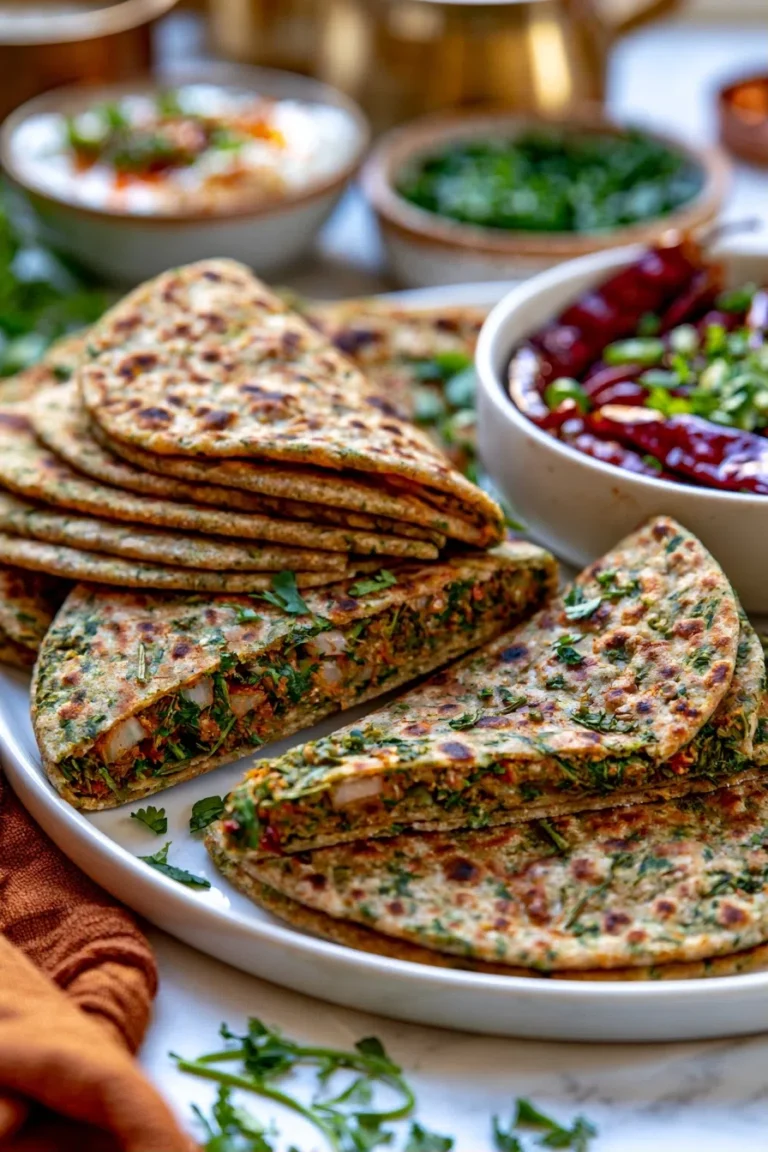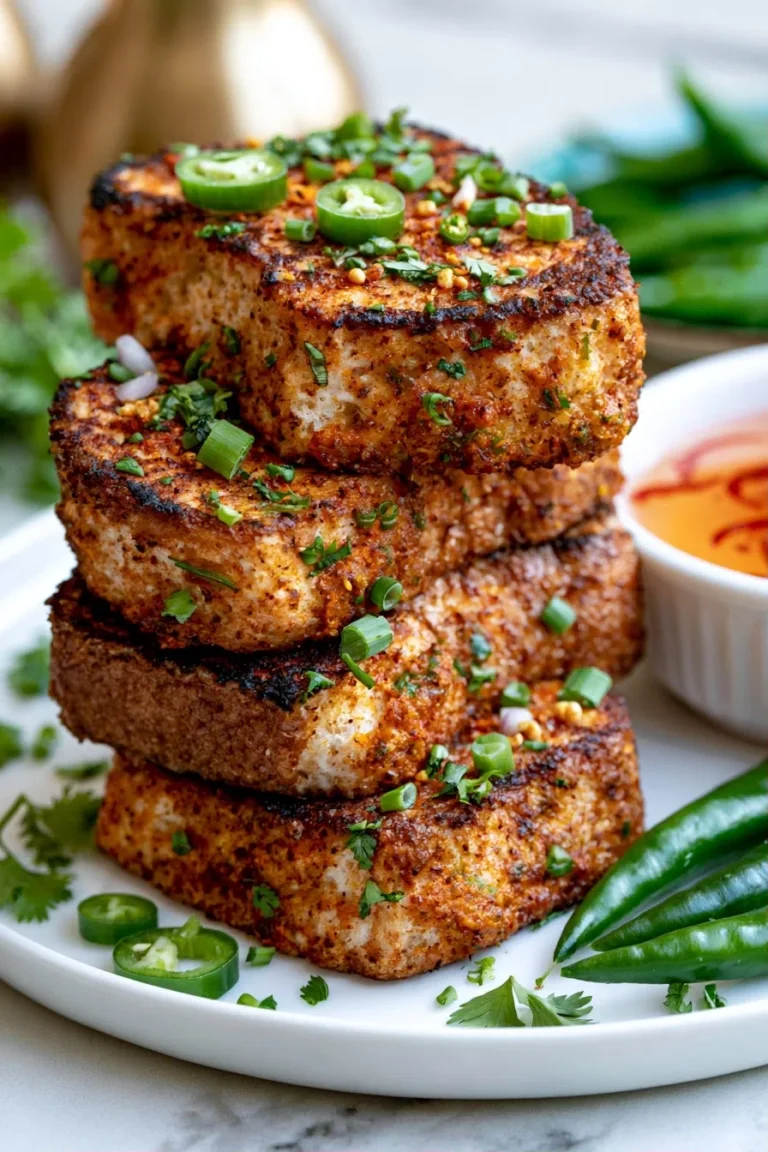
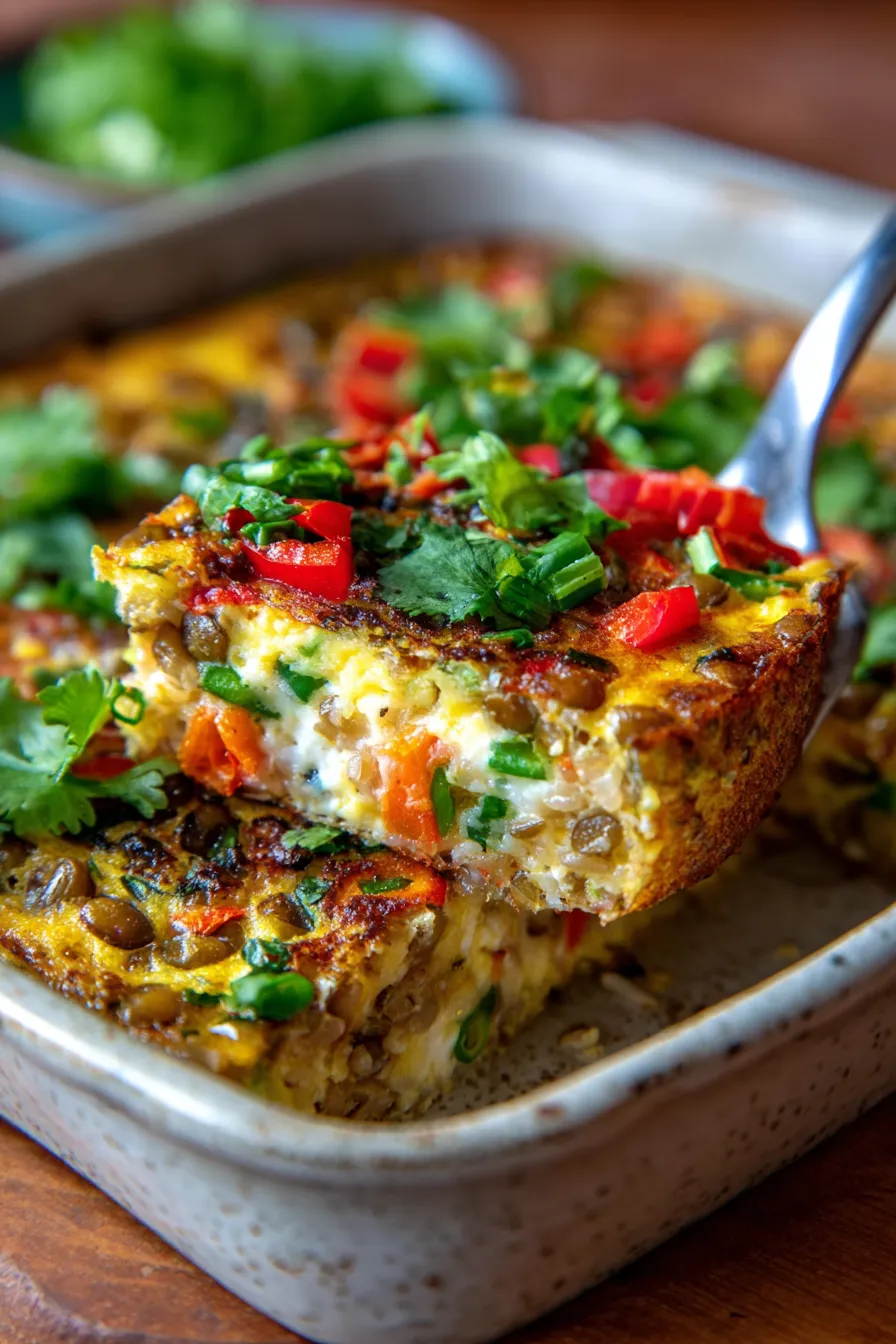
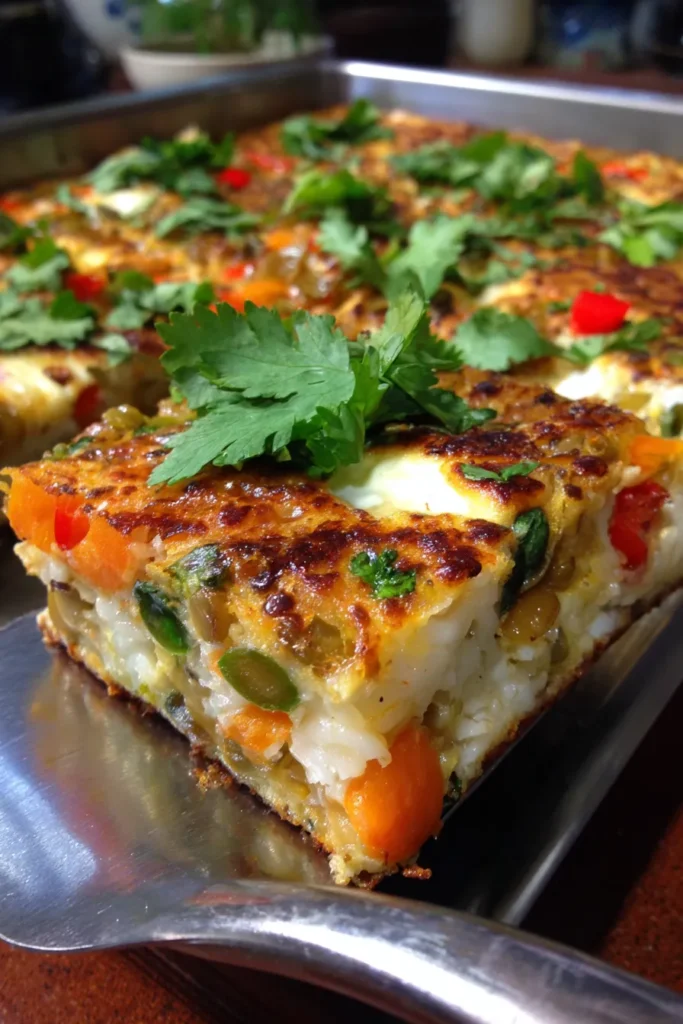
The Ultimate Easy Pesarattu & Savory Indian Breakfast Casserole
Oh, those Sunday mornings at my grandmother’s house! The air always hummed with the aroma of freshly ground spices and sizzling griddle cakes. She’d whip up the most incredible Pesarattu, those vibrant green lentil pancakes, with such effortless grace. Every bite was a hug, a taste of home and tradition.
As much as I adore those memories, my modern life often craves that same comforting, savory kick without the morning fuss. That’s exactly why I dreamed up this incredible Easy Pesarattu Indian Recipes | Breakfast Casserole! It’s my loving homage to those traditional flavors, transformed into a hearty, make-ahead dish that’s perfect for busy weekdays or a relaxed weekend brunch. This tested family favorite brings together the wholesome goodness of Pesarattu with the ultimate ease of a breakfast casserole, making it a new staple for an easy Indian breakfast or a satisfying savory morning meal. Get ready to fall in love!
Why You’ll Love This Recipe
❤️ This casserole isn’t just a meal; it’s a culinary experience! Here’s why it’s about to become your new favorite:
- A Unique Flavor Fusion: Imagine the comforting texture of a breakfast casserole infused with the vibrant, aromatic spices of South India. This dish perfectly marries the earthy goodness of mung beans, fresh ginger, and green chilies with a hearty, baked presentation. It’s truly a taste adventure for your morning!
- Packed with Nutrition: Unlike many breakfast options, this casserole is a powerhouse of goodness. Mung beans are an excellent source of plant-based protein and fiber, keeping you full and energized throughout the morning. It’s also loaded with fresh vegetables, boosting your daily nutrient intake effortlessly.
- Effortless Make-Ahead Meal: Say goodbye to frantic morning cooking! This casserole can be prepped the night before, making your breakfast routine a breeze. Just pop it in the oven when you wake up, and a warm, delicious meal is ready with minimal fuss. Perfect for meal planning and busy schedules.
- Customizable for Everyone: Whether you love a spicy kick or prefer milder flavors, this recipe is incredibly adaptable. Add more veggies, experiment with different herbs, or even sprinkle some cheese on top before baking for an extra layer of flavor. It’s a fantastic way to use up those lingering vegetables in your fridge!
- Naturally Gluten-Free & Vegetarian: This recipe is a fantastic choice for those with dietary preferences or restrictions. It’s naturally gluten-free (just ensure your rice is unadulterated) and vegetarian, making it a wholesome and inclusive option for almost any table. Everyone can enjoy a slice!
- Freezer-Friendly: Made a big batch? No problem! This casserole freezes beautifully, allowing you to enjoy a quick, healthy breakfast whenever hunger strikes. Simply thaw and reheat for a delicious, satisfying meal that tastes just as good as fresh.
- Family Favorite Potential: Kids and adults alike will adore this savory creation. Its comforting texture and appealing golden crust make it a hit, even for picky eaters. It’s a wonderful way to introduce diverse flavors to your family’s palate in a familiar, comforting format.
- Warm & Satisfying Comfort Food: On a chilly morning, there’s nothing quite like a warm, savory breakfast to kickstart your day. This casserole delivers on all fronts, providing a substantial and deeply satisfying meal that truly feels like a hug in a dish.
What You Need
You only need a few simple pantry staples for this recipe, plus some fresh veggies and spices to bring out those incredible Indian flavors! Check the full printable recipe card below for detailed measurements and a complete list.

Expert Tips
💡 Achieving casserole perfection is easy with these insider tips:
- Soak Your Mung Beans Thoroughly: This is a crucial step for achieving that signature Pesarattu texture. Soaking the whole green moong dal (and rice) for at least 4-6 hours, or preferably overnight, ensures they soften enough to grind into a smooth, lump-free batter. Proper soaking also aids in digestion and makes the final casserole wonderfully tender. Don’t skip it!
- Achieve the Right Batter Consistency: When grinding the soaked dal and rice, add water sparingly. You’re aiming for a consistency similar to dosa batter – thick enough to coat a spoon, yet pourable. If it’s too thin, your casserole might be watery; too thick, and it could be dense. A good rule of thumb is to start with minimal water and add a tablespoon at a time until you reach the desired consistency.
- Sauté Aromatics for Deeper Flavor: While the recipe calls for mixing fresh ginger and green chilies directly into the batter, consider lightly sautéing finely chopped onions, ginger, and chilies in a little oil before adding them to the batter. This step helps to mellow the raw edge of the aromatics and deepen their flavor, adding another layer of complexity to your casserole.
- Don’t Be Shy with the Veggies: This casserole is incredibly versatile! Feel free to load it up with your favorite finely chopped vegetables. Spinach, grated zucchini, finely diced bell peppers, sweet corn, or even mushrooms would be fantastic additions. Just ensure they are chopped small enough to cook evenly within the casserole.
- Season Generously: Salt is key to bringing out all the flavors. Taste your batter before baking (carefully, it’s raw!) and adjust the salt as needed. A pinch of black pepper or a dash of garam masala can also elevate the overall spice profile.
- Grease Your Baking Dish Well: To prevent sticking and ensure easy serving, make sure to thoroughly grease your baking dish. A light coating of oil or ghee will help the casserole slide out cleanly, leaving you with perfect slices.
- The Golden-Brown Crust is Key: For that perfect crispy exterior and tender interior, ensure you bake until the top is beautifully golden brown. If you notice it browning too quickly, you can loosely tent it with foil for the last 10-15 minutes of baking. A toothpick inserted into the center should come out clean when it’s done.
- Rest Before Slicing: Just like many baked goods, allowing the casserole to rest for 5-10 minutes after taking it out of the oven lets it set further. This makes for cleaner slices and helps the flavors meld even more beautifully.
Variations & Substitutions
This recipe is a canvas for your culinary creativity! Feel free to tweak it to your family‘s preferences or dietary needs.
- Make it More Protein-Packed: Stir in a handful of crumbled paneer (Indian cheese) or firm tofu into the batter for an extra protein boost. Cooked and shredded chicken or scrambled eggs could also be folded in for a non-vegetarian option.
- Spice it Up (or Down): Adjust the number of green chilies to your desired heat level. For a smokier kick, add a pinch of cayenne pepper or red chili flakes. If serving to kids, you can omit the chilies entirely.
- Herb Harmony: While cilantro is classic, feel free to experiment with other fresh herbs. A touch of mint or curry leaves (sautéed first) would add another layer of authentic Indian flavor.
- Veggie Extravaganza: Almost any finely chopped vegetable works here! Try adding finely diced bell peppers, grated zucchini (squeeze out excess water), chopped spinach, or even some frozen peas. The more veggies, the merrier!
- Cheesy Indulgence: For those who love cheese in their breakfast casserole, a sprinkle of sharp cheddar or Monterey Jack over the top during the last 10 minutes of baking would create a lovely gooey crust. Feta cheese also offers a nice tangy contrast.
- Vegan & Dairy-Free: This recipe is naturally vegan and gluten-free! Just ensure you use oil (like avocado or coconut oil) instead of ghee for greasing the dish and baking.
Storage & Freezing
This casserole is a fantastic meal prep option, making your mornings even easier!
- Storage: Allow the casserole to cool completely. Store leftover slices in an airtight container in the refrigerator for up to 3-4 days.
- Reheating: Reheat individual portions in the microwave until warm through, or in a preheated oven (350°F / 175°C) for 10-15 minutes, or until heated thoroughly and crispy again.
- Freezing: For longer storage, you can freeze the cooked and cooled casserole. Wrap individual slices tightly in plastic wrap, then aluminum foil, or place them in a freezer-safe bag or container. It will keep well in the freezer for up to 2-3 months. Thaw overnight in the refrigerator before reheating.
FAQ
Q: What exactly is Pesarattu?
A: Pesarattu is a traditional South Indian savory crepe or pancake made from a batter of whole green moong dal (green gram). Unlike dosa, which often uses fermented batter, Pesarattu batter is typically made with unfermented dal and rice, seasoned with ginger, green chilies, and sometimes onions. It’s known for being nutritious and flavorful.
Q: Can I prepare the batter ahead of time?
A: Absolutely! The batter can be prepared and stored in an airtight container in the refrigerator for up to 2 days. This makes assembling the casserole on the morning you want to bake it incredibly quick and easy. Just give it a good stir before pouring.
Q: Is this casserole spicy?
A: The spice level can be easily adjusted to your preference. The recipe includes green chilies for a moderate kick, but you can reduce or omit them for a milder flavor, or add more for an extra fiery breakfast. The ginger also contributes a pleasant warmth rather than intense heat.
Q: What can I serve with this Pesarattu breakfast casserole?
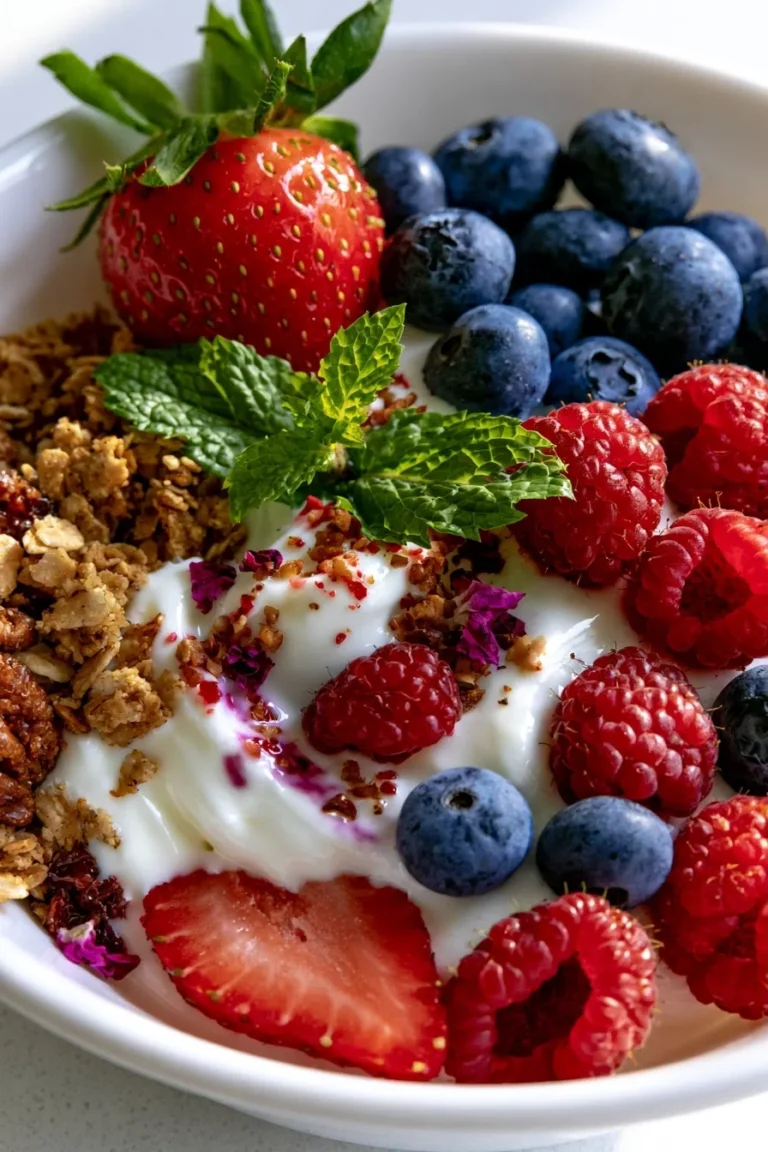
A: This casserole is quite hearty on its own! However, it pairs wonderfully with a side of fresh coconut chutney, a dollop of plain yogurt or raita, or even a simple tomato pickle. A fresh fruit salad would also offer a lovely contrasting sweetness.
I genuinely hope this unique Easy Pesarattu Indian Recipes | Breakfast Casserole brings as much joy and deliciousness to your mornings as it has to mine. It’s a testament to how traditional flavors can be lovingly adapted for modern convenience, creating something truly special. Don’t forget to share your creations and tag me when you make it! Happy cooking, and happy eating!
Easy Pesarattu & Savory Indian Breakfast Casserole Recipe
Ingredients
- 1 cup whole green moong dal (or split moong dal)
- 1/4 cup raw rice
- 1 inch ginger, roughly chopped
- 2-3 green chilies (adjust to taste)
- 1/2 small onion, finely chopped
- 1/4 cup grated carrots
- 1/4 cup chopped bell peppers (any color)
- 1/4 cup chopped fresh cilantro
- 1 tsp cumin seeds
- Salt to taste
- 2 tbsp oil or ghee, divided
Instructions
- Step 1 Soak moong dal and rice together in enough water for 4-6 hours or overnight. Drain completely before proceeding.
- Step 2 In a blender or wet grinder, combine the soaked dal, rice, ginger, and green chilies. Add about 1/4 cup of water and grind to a smooth, pourable batter. Add more water, a tablespoon at a time, if needed to achieve a dosa-like consistency.
- Step 3 Transfer the batter to a large bowl. Stir in the finely chopped onion, grated carrots, chopped bell peppers, fresh cilantro, cumin seeds, and salt. Mix well to combine all ingredients evenly.
- Step 4 Preheat your oven to 375°F (190°C). Lightly grease a 9x13 inch baking dish with 1 tablespoon of oil or ghee.
- Step 5 Pour the prepared batter into the greased baking dish, spreading it evenly with a spatula. Drizzle the remaining 1 tablespoon of oil or ghee over the top of the batter.
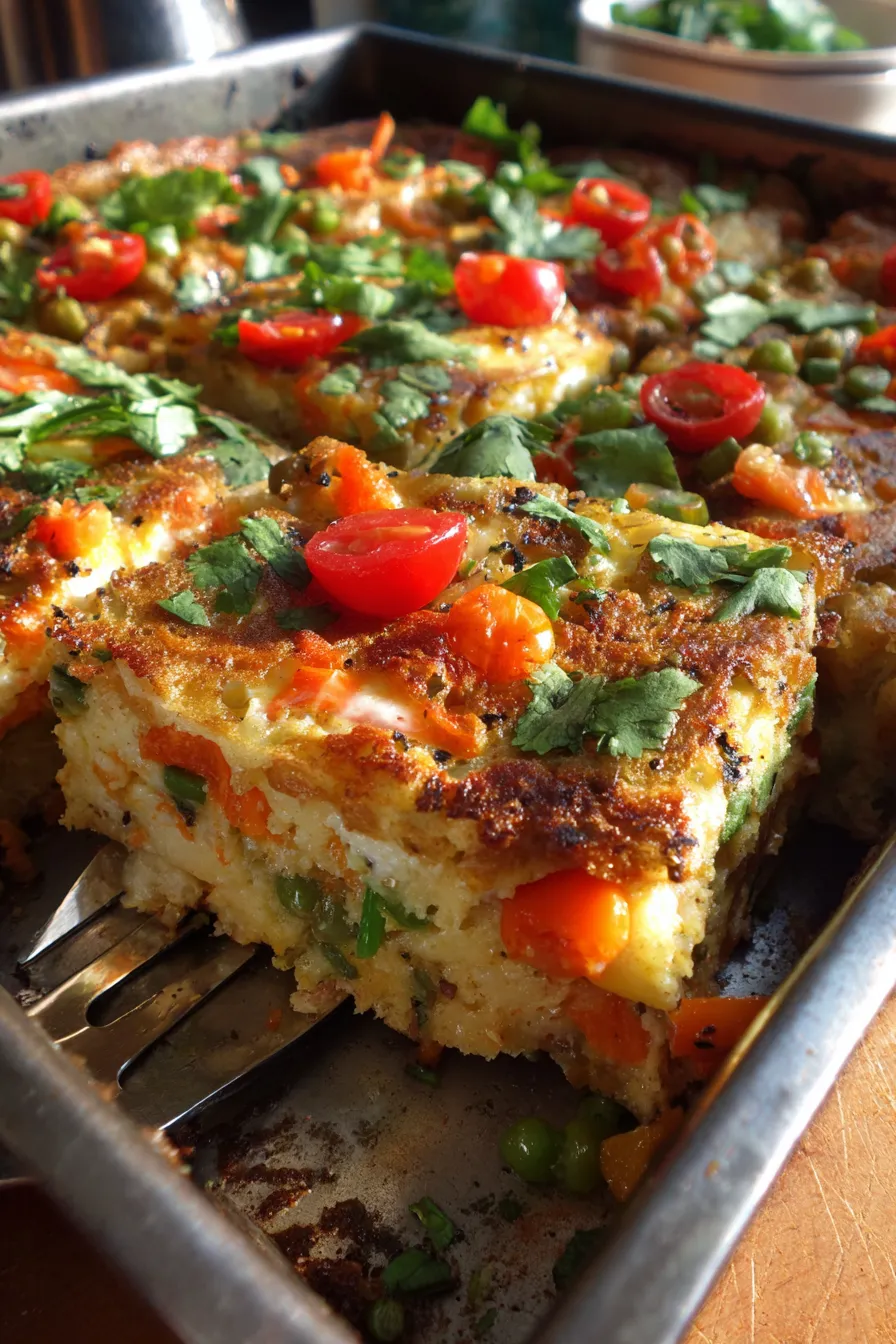
- Step 6 Bake for 35-40 minutes, or until the casserole is set in the center, golden brown on top, and a toothpick inserted comes out clean. If the top browns too quickly, you can loosely tent it with aluminum foil.
- Step 7 Remove the casserole from the oven and let it cool in the dish for about 5-10 minutes before slicing and serving. This helps it set further for clean cuts.
- Step 8 Serve warm with your favorite chutney or yogurt, if desired. Enjoy!