Best Ever Savory Chickpea Flour Chilla | Easy Indian Breakfast Recipe
There’s something incredibly comforting about the aroma of a warm, savory breakfast sizzling on the griddle, especially on a lazy weekend morning. I remember vividly those rainy Sunday mornings growing up, when my grandmother would whip up a batch of these glorious Savory Chickpea Flour Chilla. The kitchen would fill with the enticing scent of spices and fresh herbs, promising a delicious start to the day. It felt like a warm hug in food form, a simple pleasure that brought everyone to the table with smiles.
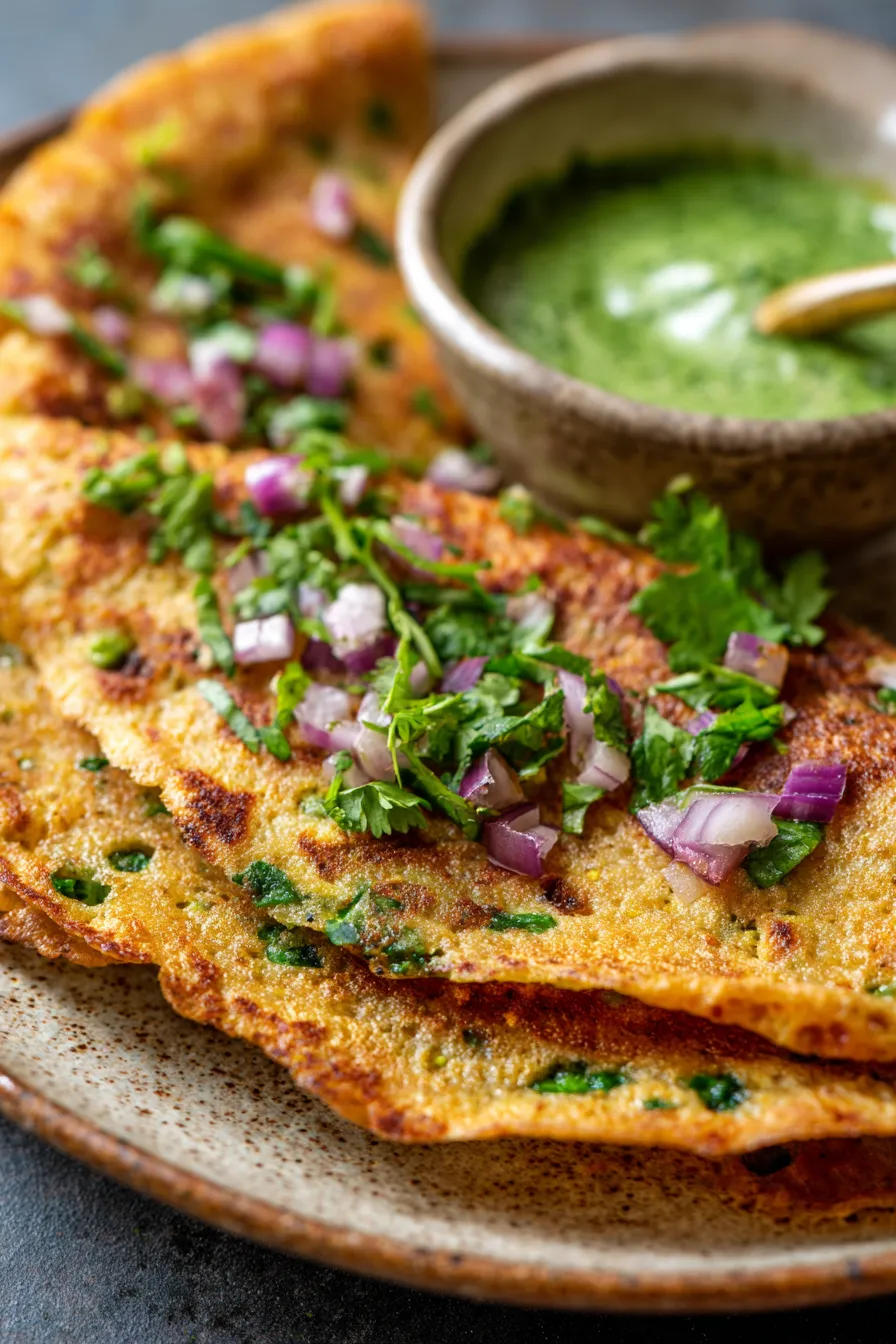
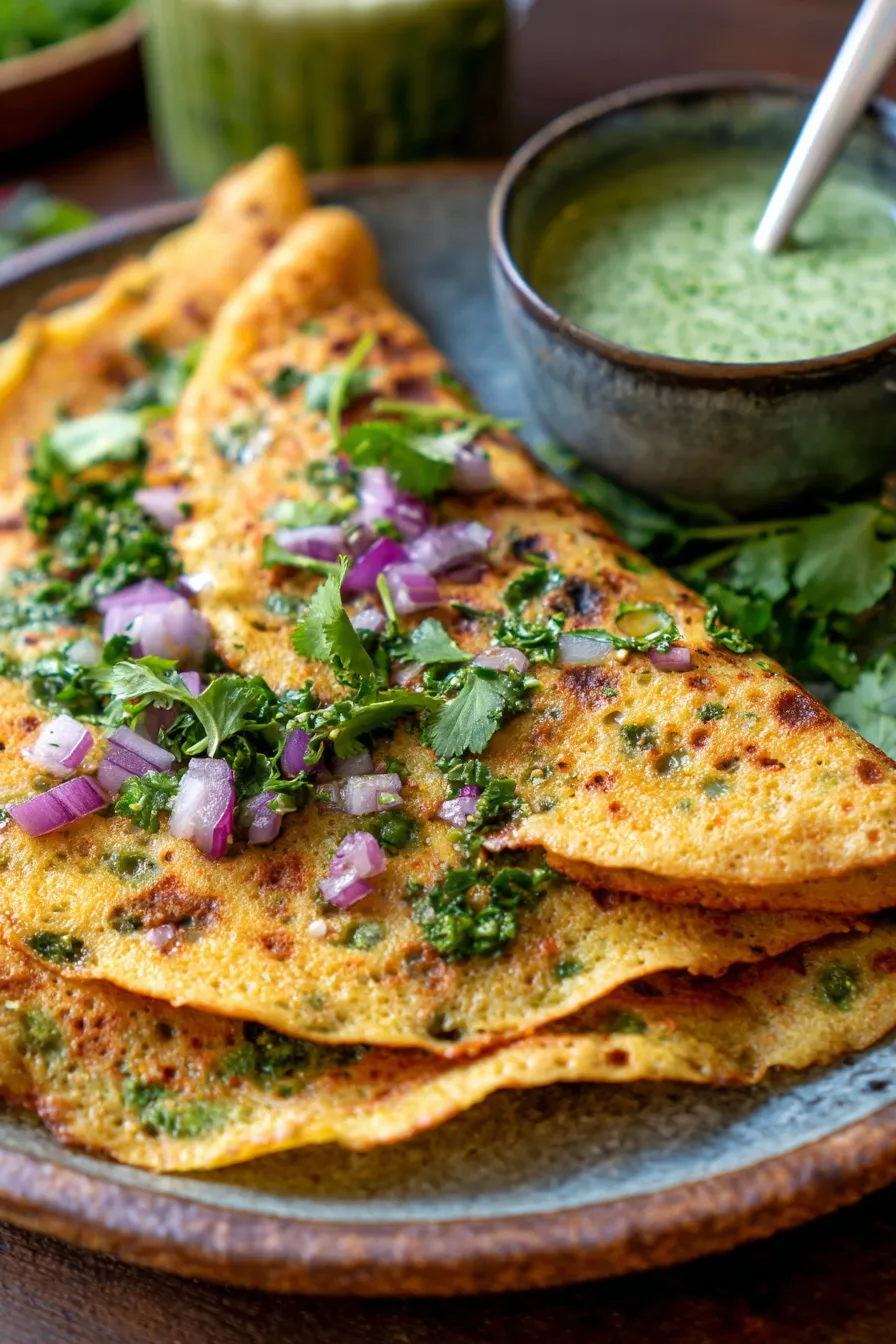
Fast forward to today, and this beloved recipe remains a family favorite, perfect for an easy dinner or a wholesome healthy breakfast. This traditional Indian pancake, also known as Besan Cheela, is not only incredibly simple to make but also naturally gluten-free and vegan, packed with protein and flavor. If you’re looking for a quick, nutritious, and absolutely delightful comfort food that will transport you straight to an Indian kitchen, then you absolutely need to make this Savory Chickpea Flour Chilla | Breakfast Recipes Indian!
It’s a tested and cherished recipe that I’ve perfected over years, and I can’t wait for you to experience its magic. Get ready to fall in love with your new go-to quick meal.
Why You’ll Love This Recipe
❤️ Here’s why this Savory Chickpea Flour Chilla will become your new kitchen obsession:
- Effortlessly Quick & Easy: Seriously, from pantry to plate, you’re looking at less than 30 minutes! It’s the ultimate solution for those mornings when you’re short on time but still crave something homemade and wholesome. The batter comes together in a flash, and cooking them is as simple as making pancakes. Perfect for beginners and seasoned cooks alike!
- Nutrient-Packed & Wholesome: Made with chickpea flour (besan), these chillas are a fantastic source of plant-based protein and dietary fiber, keeping you full and energized throughout the day. They are naturally gluten-free and vegan, making them suitable for a wide range of dietary needs and preferences. It’s a breakfast that truly fuels your body without compromising on taste.
- Incredibly Versatile: Think of chilla as a blank canvas! You can easily customize the vegetables and spices to suit your taste. Add grated carrots, finely chopped bell peppers, or even a handful of spinach for an extra boost of nutrients and color. The flavor profile is adaptable, allowing you to experiment with different combinations every time you make them.
- Budget-Friendly Ingredients: Chickpea flour and common spices are incredibly affordable and widely available, making this a cost-effective meal option. You likely have most of the ingredients in your pantry right now, which means less grocery shopping and more savings for your wallet. It’s smart eating that doesn’t break the bank.
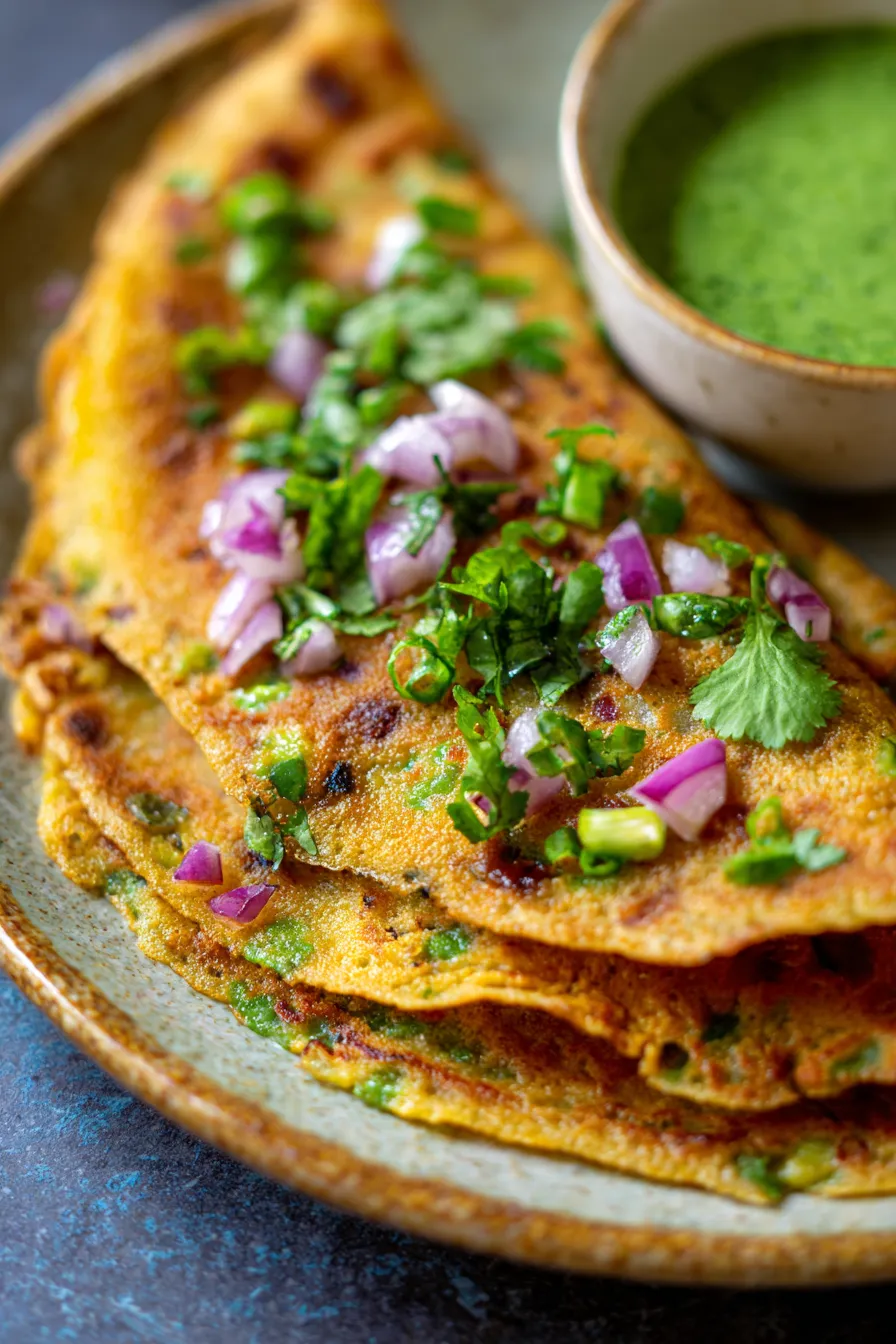
- Deliciously Satisfying: The combination of a slightly crisp exterior and a tender, flavorful interior, bursting with fresh herbs and aromatic spices, is simply irresistible. They’re hearty enough to keep hunger at bay but light enough not to leave you feeling heavy. Serve them with your favorite chutney or a dollop of yogurt for an unforgettable meal experience.
- Family-Friendly Favorite: Even picky eaters will often enjoy these savory pancakes, especially when customized with their favorite mild veggies. It’s a great way to introduce healthy ingredients into their diet in a fun and appealing format. My own kids adore them, and I’ve heard countless stories from friends whose children gobble these up!
What You Need
You only need a few simple pantry staples and fresh ingredients for this recipe! The magic lies in how they come together to create such a flavorful dish. Check the full printable recipe card below for detailed measurements and a complete ingredient list.
Expert Tips
💡 Unlock the full potential of your Savory Chickpea Flour Chilla with these pro tips:
- Achieving the Perfect Batter Consistency: This is perhaps the most crucial step! Your batter should be smooth, lump-free, and pourable, similar to pancake batter but perhaps slightly thicker. Start by adding water gradually to the chickpea flour, whisking continuously to avoid lumps. If it’s too thick, the chillas will be dense and dry; too thin, and they’ll be hard to flip and might break. Aim for a consistency that coats the back of a spoon. Let the batter rest for at least 10-15 minutes; this allows the chickpea flour to fully hydrate and results in a softer, more pliable chilla.
- Don’t Skimp on the Seasoning: The beauty of chilla lies in its vibrant flavors. Taste your batter before cooking (it’s safe since there are no raw eggs or meat) and adjust salt and spices as needed. Fresh ginger and green chilies add a fantastic punch, while a pinch of ajwain (carom seeds) aids digestion and adds a unique aroma. Don’t be shy with the fresh cilantro either – it adds a burst of freshness!
- The Right Pan and Temperature: A good non-stick pan or a well-seasoned cast-iron griddle is your best friend here. Heat your pan over medium heat. It’s important to get the pan hot enough so that the chilla cooks evenly and develops a nice golden-brown crust, but not so hot that it burns before cooking through. A sprinkle of water that sizzles and evaporates quickly indicates the perfect temperature.
- Spreading the Batter Evenly: Once your pan is hot and lightly oiled, pour a ladleful of batter into the center. Using the back of the ladle, gently spread the batter outwards in a circular motion to form a thin, even disc. Don’t press too hard, or you’ll make it too thin and prone to tearing. Practice makes perfect here!
- When to Flip: Patience is key! Wait until the edges start to look set and slightly dry, and small bubbles appear on the surface of the chilla. You should also see the underside turning golden brown when you peek. This usually takes 2-3 minutes per side. Resist the urge to flip too early, or your chilla might stick or tear.
- Use Oil Judiciously: A little oil (or ghee, if not vegan) around the edges helps in achieving a crisp texture and makes flipping easier. You don’t need a lot; a light drizzle is usually sufficient. For a healthier option, you can use cooking spray or simply wipe the pan with an oiled paper towel between chillas.
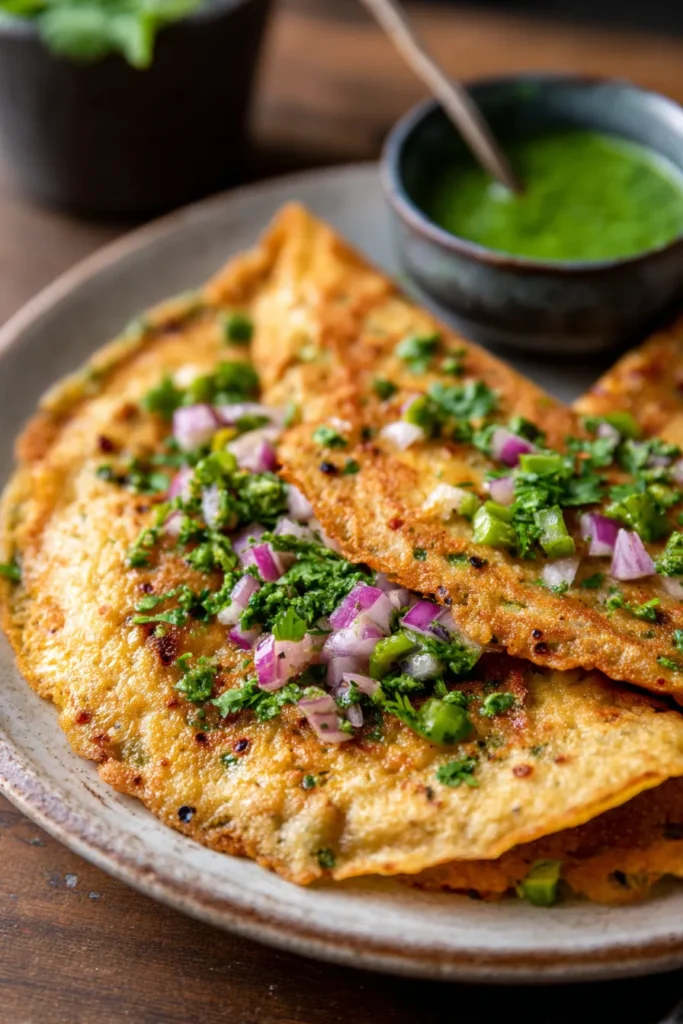
- Serve Immediately: Chillas are best enjoyed fresh off the griddle, when they are warm and tender. Stack them on a plate and keep them covered with a clean kitchen towel to retain warmth if serving a batch. They pair wonderfully with a simple green chutney, yogurt, or even just a dash of pickle.
Variations & Substitutions
This Savory Chickpea Flour Chilla recipe is wonderfully adaptable! Feel free to get creative and make it your own.
- Vegetable Boost: Finely grated carrots, zucchini, or chopped bell peppers can be added to the batter for extra nutrients and crunch. Spinach or fenugreek leaves also work beautifully.
- Spice It Up: For a spicier kick, increase the amount of green chilies or add a pinch of cayenne pepper. For a milder version, reduce the chilies.
- Herb Harmony: While cilantro is traditional, you can also experiment with finely chopped mint or curry leaves for a different flavor profile.
- Protein Power: For an even more protein-packed meal, crumble some firm tofu or paneer into the batter.
- Aromatic Additions: A pinch of hing (asafoetida) can be added for digestive benefits and an onion-garlic like aroma, especially if you’re omitting fresh onion and garlic.
Storage & Freezing
Chillas are best enjoyed fresh, but you can definitely store them if you have leftovers.
- Refrigeration: Store cooked and cooled chillas in an airtight container in the refrigerator for up to 2-3 days.
- Reheating: Gently reheat them on a lightly oiled pan over medium heat until warm and slightly crisp. You can also microwave them, but they might lose some crispiness.
- Freezing: While not ideal, you can freeze cooked chillas. Place parchment paper between each chilla to prevent sticking, then store in a freezer-safe bag for up to 1 month. Thaw overnight in the fridge and reheat as above.
FAQ
What is chickpea flour (besan)?
Chickpea flour, also known as besan or gram flour, is a flour made from ground chickpeas (garbanzo beans). It’s a staple in Indian and South Asian cooking, naturally gluten-free, and high in protein and fiber. It has a slightly nutty, earthy flavor.
Can I make the batter ahead of time?
Yes, absolutely! You can prepare the chilla batter up to 24 hours in advance and store it in an airtight container in the refrigerator. If it thickens too much, add a tablespoon or two of water to achieve the desired consistency before cooking. This makes morning prep even faster!
Why are my chillas sticking to the pan?
There are a few reasons this might happen: your pan might not be hot enough, it might not be properly greased, or the batter could be too thin. Ensure your pan is well-heated and lightly oiled before pouring the batter. You can also try adding a tiny bit more chickpea flour if the batter seems overly runny.
What do I serve with Savory Chickpea Flour Chilla?
These chillas are fantastic with a variety of accompaniments! Traditional options include green chutney (mint or cilantro chutney), tamarind chutney, or a simple plain yogurt. They also pair wonderfully with Indian pickles, a side of spicy potato sabzi, or even just a squeeze of fresh lemon juice.
There you have it – a recipe that’s more than just food; it’s a taste of home, comfort, and tradition. I hope this Savory Chickpea Flour Chilla brings as much joy to your kitchen as it does to mine. Don’t forget to pin this recipe for later and share your creations with me!
Easy Savory Chickpea Flour Chilla | Healthy Indian Breakfast
Ingredients
- 1 cup chickpea flour (besan)
- 1/2 cup finely chopped onion
- 1-2 green chilies, finely chopped (adjust to taste)
- 1/4 cup fresh cilantro, finely chopped
- 1 tsp grated ginger
- 1/2 tsp turmeric powder
- 1/2 tsp red chili powder (optional)
- 1/4 tsp carom seeds (ajwain)
- Salt to taste
- 1 to 1.5 cups water (as needed for consistency)
- Oil or ghee for cooking
Instructions
- Step 1 In a large bowl, combine chickpea flour, chopped onion, green chilies, cilantro, grated ginger, turmeric powder, red chili powder, carom seeds, and salt.
- Step 2 Gradually add water, whisking continuously to form a smooth, lump-free batter. The consistency should be similar to pancake batter, pourable but not too thin. Let it rest for 10-15 minutes.
- Step 3 Heat a non-stick pan or griddle over medium heat. Lightly grease it with a few drops of oil.
- Step 4 Pour a ladleful of batter onto the hot pan. Using the back of the ladle, gently spread the batter outwards in a circular motion to form a thin, even disc, about 5-6 inches in diameter.
- Step 5 Drizzle a little oil around the edges and on top of the chilla.
- Step 6 Cook for 2-3 minutes, until the edges look set and the underside is golden brown. Gently flip the chilla and cook on the other side for another 2-3 minutes, until golden and cooked through.
- Step 7 Remove from the pan and serve hot with your favorite chutney or yogurt. Repeat with the remaining batter.