Make-Ahead Breakfast Pizza with Hash Brown Crust: Your New Brunch Star!
My grandmother always said, “Breakfast is the most important meal of the day,” but she also believed it should be as comforting as a hug. I remember those chilly Saturday mornings, the aroma of something wonderful wafting from her kitchen, but never quite knowing what magic she was whipping up. Years later, I channeled that memory into creating a dish that embodies both comfort and ease: this incredible Make-Ahead Breakfast Pizza with Hash Brown Crust. It’s truly an easy dinner or a spectacular brunch that feels special without any fuss. This recipe has been tested countless times and is now a cherished family favorite, perfect for lazy weekends or busy weeknights.
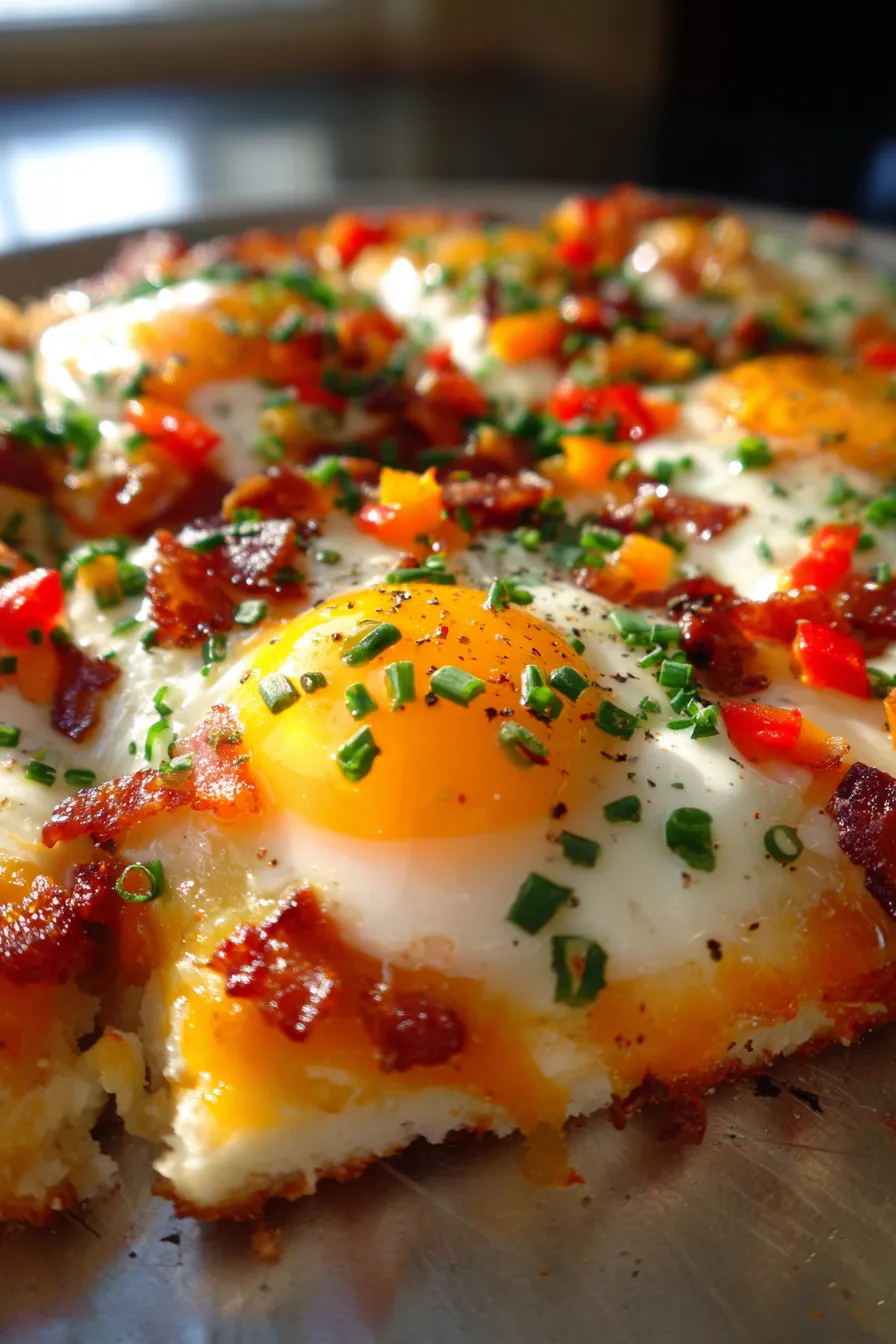
Imagine waking up to the savory scent of a perfectly baked pizza, its crispy hash brown crust cradling fluffy eggs, melty cheese, and your favorite breakfast fixings. This isn’t just a meal; it’s an experience, a delightful start to any day that feels both indulgent and surprisingly simple to prepare. It’s the ultimate comfort food, designed to take the stress out of morning cooking.
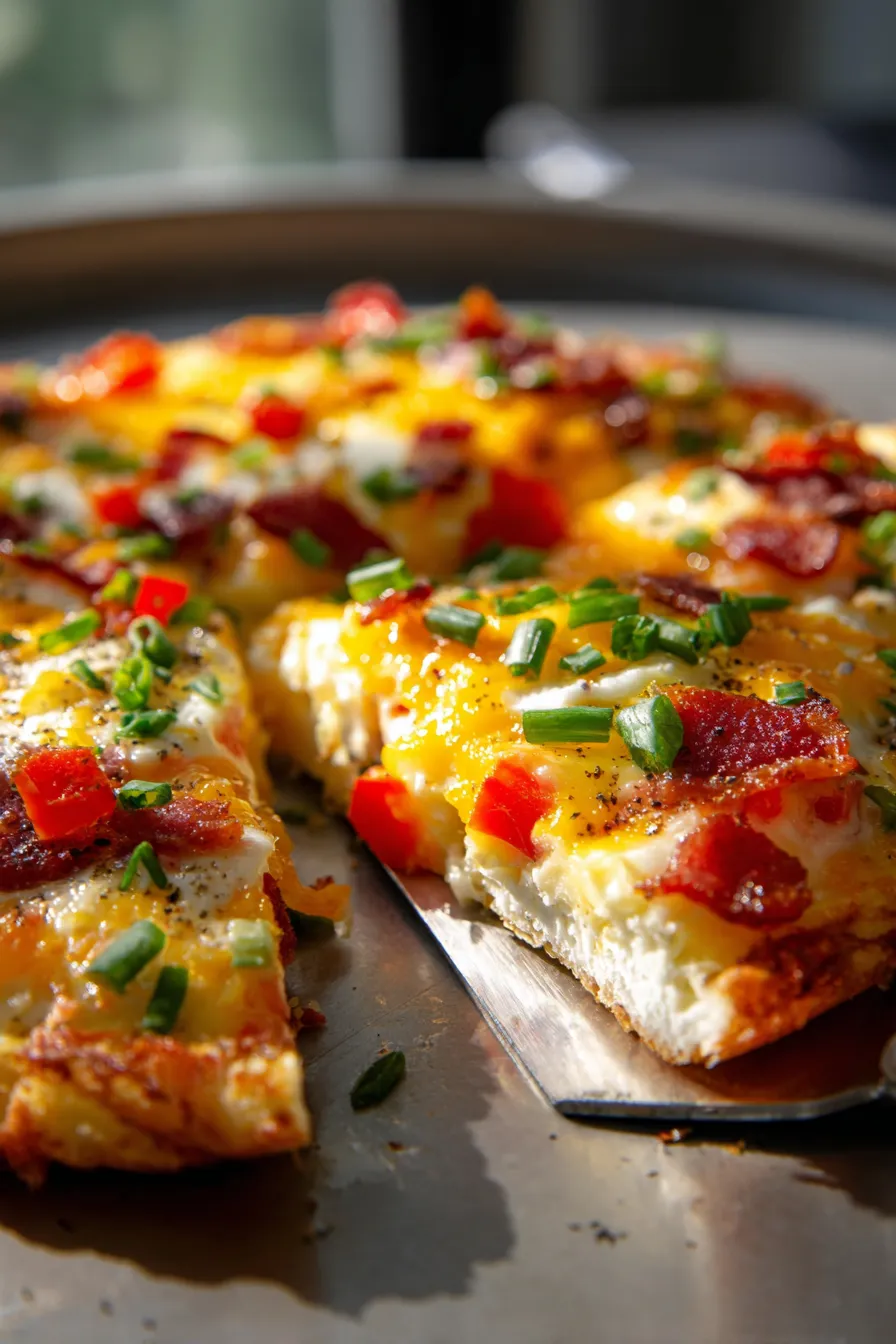
We’re talking about a dish that combines the best of breakfast staples into one gloriously golden, sliceable masterpiece. From its golden-brown hash brown foundation to its customizable toppings, every bite promises a symphony of textures and flavors. Get ready to transform your breakfast routine!
Why You’ll Love This Recipe
- Effortless Make-Ahead Magic: The ultimate time-saver! Prepare it the night before, pop it in the oven in the morning, and enjoy a stress-free breakfast or brunch. This flexibility makes it perfect for busy weekdays or relaxed weekend gatherings when you want to spend more time with loved ones and less time cooking.
- Crispy Hash Brown Crust Perfection: Forget soggy crusts! Our secret to success is a perfectly seasoned, pre-baked hash brown base that gets wonderfully golden and crisp, providing an incredible textural contrast to the soft, savory toppings. It’s a game-changer!
- Infinitely Customizable: This recipe is a blank canvas for your breakfast dreams. From spicy chorizo to sweet bell peppers, sautéed mushrooms, or a medley of cheeses – you can tailor every slice to individual preferences. It’s fantastic for using up those leftover bits in your fridge.
- Feeds a Crowd (or just you!): Whether you’re hosting a big family brunch, a potluck, or simply want delicious leftovers for the week, this breakfast pizza scales beautifully. It’s hearty enough to satisfy everyone and always disappears fast!
- Kid-Friendly & Crowd-Pleasing: Even the pickiest eaters will adore this “pizza.” It’s fun, familiar, and delicious, making it a guaranteed hit for all ages. Let the kids help choose their favorite toppings for an interactive cooking experience.
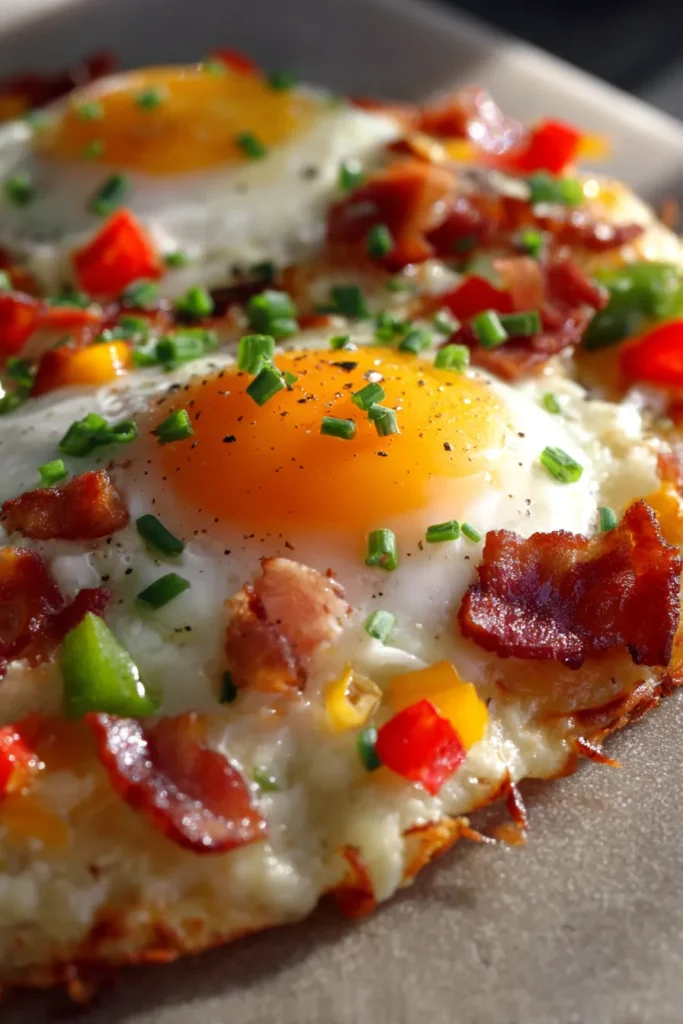
- Packed with Flavor & Nutrients: Loaded with eggs, cheese, and your choice of vegetables and protein, it’s a wholesome and satisfying meal that will keep you energized. Every bite is a delightful combination of savory goodness.
- Freezer-Friendly Option: Make an extra pizza, slice it, and freeze individual portions for quick grab-and-go breakfasts throughout the week. Reheats beautifully in the oven or toaster oven for that fresh-baked taste.
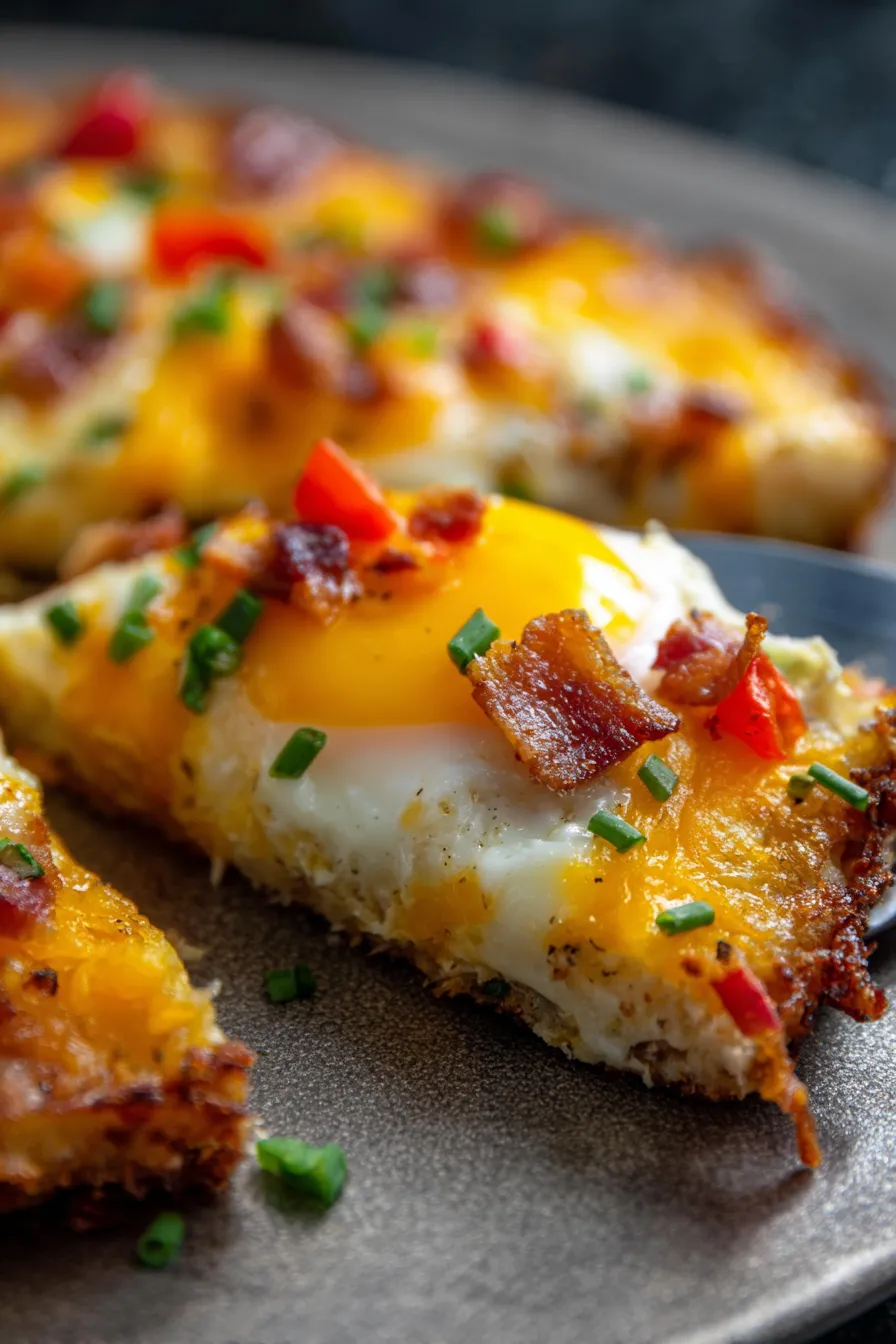
- Impressive Presentation: Golden, bubbly, and vibrant – this breakfast pizza looks absolutely stunning fresh out of the oven. It’s a showstopper that will earn you rave reviews without any advanced culinary skills required.
What You Need
You only need a few simple pantry staples for this incredibly versatile and satisfying recipe! Think frozen hash browns, eggs, cheese, and your favorite breakfast meats and veggies. Check the full printable recipe card below for detailed measurements and a complete list of ingredients.
Expert Tips
- Squeeze Your Hash Browns DRY: This is perhaps the *most crucial* step for a crispy crust. If using shredded frozen hash browns, thaw them completely, then wrap them in a clean kitchen towel and squeeze out as much excess moisture as possible. This prevents a soggy crust. Don’t skip this!
- Pre-Bake the Crust: Always pre-bake your hash brown crust until golden and slightly crisp *before* adding the toppings. This ensures it sets up beautifully and prevents it from becoming mushy under the weight of the eggs and fillings.
- Don’t Overcrowd: While it’s tempting to load up on toppings, resist the urge! Too many toppings can make the pizza watery and prevent even cooking. A thin, even layer is best.
- Season Your Eggs Well: Whisk your eggs thoroughly with a splash of milk or cream and season generously with salt and black pepper. This makes for light, fluffy, and flavorful eggs throughout the pizza.
- Shred Your Own Cheese: Pre-shredded cheeses often contain anti-caking agents that can affect their melting quality. Freshly shredded cheese melts smoother and tastes better.
- Cook Meats Beforehand: Any breakfast meats like sausage, bacon, or ham should be fully cooked and drained of excess grease before adding them to the pizza. This prevents a greasy final product.
- Sauté Veggies: If using vegetables with high water content (mushrooms, onions, peppers), give them a quick sauté to remove moisture and concentrate their flavors before adding them to the pizza. This also ensures they are tender.
- The Low and Slow Approach (for make-ahead): If making ahead and refrigerating, consider baking at a slightly lower temperature (e.g., 350°F/175°C) for a longer time when reheating from cold. This allows it to heat through evenly without overcooking the eggs or burning the crust.
- Rest Before Slicing: Just like a traditional pizza, letting your breakfast pizza rest for 5-10 minutes after coming out of the oven allows the eggs to set further and the cheese to firm up slightly, making for cleaner slices.
- Use a Pizza Stone or Cast Iron: If you have one, preheating a pizza stone or a large cast-iron skillet in the oven and then placing your pizza pan on it can help achieve an even crispier bottom crust.
Variations & Substitutions
- Keto/Low-Carb: Skip the hash brown crust entirely! Instead, create a “crust” using a layer of cooked and well-drained crumbled cauliflower, or use a pre-made low-carb crust. Focus on cheese, eggs, and low-carb veggies and meats.
- Vegetarian: This recipe is incredibly easy to make vegetarian. Simply omit any meat and load up on your favorite vegetables! Think sautéed bell peppers, onions, spinach, mushrooms, sun-dried tomatoes, or even roasted sweet potato cubes.
- Gluten-Free: Great news – this recipe is naturally gluten-free if you use 100% potato hash browns and check any processed meats for hidden gluten. Most frozen shredded hash browns are just potatoes.
- Dairy-Free: Use a dairy-free cheese alternative and a plant-based milk (like unsweetened almond or soy milk) in place of dairy milk. Ensure any sausages or meats are also dairy-free.
- Protein Boost: Add extra cooked bacon, sausage crumbles, diced ham, or even shredded chicken for a more protein-packed meal. Black beans or crumbled tofu can also be great additions.
- Spice it Up: Drizzle with hot sauce, add a pinch of red pepper flakes to the eggs, or use a spicy sausage for a kick. Jalapeños are also a fantastic addition!
- Herbaceous: Fresh herbs like chives, parsley, or cilantro sprinkled on top after baking add a wonderful burst of freshness and color.
Storage & Freezing
- Refrigerator: Leftovers can be stored in an airtight container in the refrigerator for up to 3-4 days.
- Reheating: To reheat, place individual slices on a baking sheet and warm in a preheated oven (350°F/175°C) for 10-15 minutes, or until heated through and crispy. A toaster oven also works wonders for individual slices! Microwaving is an option, but the crust won’t be as crispy.
- Freezing: This breakfast pizza freezes beautifully! Once cooled completely, slice the pizza into individual portions. Wrap each slice tightly in plastic wrap, then place them in a freezer-safe bag or container. It will keep in the freezer for up to 1-2 months.
- Reheating from Frozen: Reheat frozen slices directly in a preheated oven (375°F/190°C) for about 20-25 minutes, or until hot and crispy. No need to thaw!
FAQ
Q: Can I use fresh shredded potatoes instead of frozen hash browns?
A: Yes, absolutely! If using fresh potatoes, shred them and then rinse them thoroughly under cold water to remove excess starch. This is crucial for crispiness. Then, make sure to squeeze them extremely dry with a clean kitchen towel before seasoning and pressing into the pan.
Q: What’s the best way to prevent a soggy crust?
A: The two keys are squeezing as much moisture as possible from the thawed hash browns, and then pre-baking the crust until it’s golden and firm before adding any wet toppings. Don’t rush these steps!
Q: Can I assemble this pizza completely and then freeze it unbaked?
A: While technically possible, I don’t recommend freezing it unbaked. The eggs and hash browns can get watery and change texture significantly upon thawing and baking. It’s best to either bake it, cool it, and then freeze slices, or prepare the components (cook meats, chop veggies) and assemble right before baking for best results.
Q: Can I add a different type of sauce?
A: Definitely! While this recipe typically relies on the eggs and cheese for moisture, you could spread a thin layer of cream cheese, a light béchamel, or even a very thin layer of mild salsa on the pre-baked crust before adding other toppings for a different flavor profile.
There you have it – your new go-to recipe for a show-stopping, stress-free meal! This Make-Ahead Breakfast Pizza with Hash Brown Crust is more than just a dish; it’s a versatile solution for busy mornings, a crowd-pleaser for any gathering, and a hearty comfort food that always satisfies. Give it a try this week, and prepare to fall in love with its crispy crust and savory fillings. Don’t forget to Pin this recipe for later so you always have it handy!
Make-Ahead Breakfast Pizza with Hash Brown Crust | Easy Brunch
Ingredients
- 1 (30 oz) bag frozen shredded hash browns, thawed
- 1/4 cup melted butter or olive oil
- 1/2 tsp garlic powder
- 1/2 tsp onion powder
- Salt and black pepper to taste
- 8 large eggs
- 1/4 cup milk or cream
- 1 cup shredded sharp cheddar cheese
- 1/2 cup shredded mozzarella cheese
- 1/2 cup cooked, crumbled bacon
- 1/2 cup cooked, crumbled breakfast sausage
- 1/4 cup diced bell peppers (any color)
- 2 tbsp chopped green onions or chives (for garnish)
Instructions
- Step 1 Preheat oven to 400°F (200°C). Spray a 9x13 inch baking dish with non-stick spray.
- Step 2 Thaw hash browns completely. Squeeze out as much excess moisture as possible using a clean kitchen towel.
- Step 3 In a large bowl, combine dried hash browns, melted butter/oil, garlic powder, onion powder, salt, and pepper. Press evenly into the prepared baking dish to form a crust.
- Step 4 Bake the hash brown crust for 15-20 minutes, or until golden brown and crispy around the edges.
- Step 5 While crust bakes, whisk eggs with milk, salt, and pepper. Cook bacon and sausage, then crumble. Dice bell peppers.
- Step 6 Remove crust from oven. Sprinkle cooked meats, bell peppers, and 3/4 of the cheeses over the crust.
- Step 7 Pour the whisked egg mixture evenly over the toppings. Sprinkle with remaining cheese.
- Step 8 Return to oven and bake for another 10-15 minutes, or until eggs are set and cheese is bubbly and golden.
- Step 9 Let stand 5-10 minutes before slicing and serving. Garnish with fresh green onions or chives.