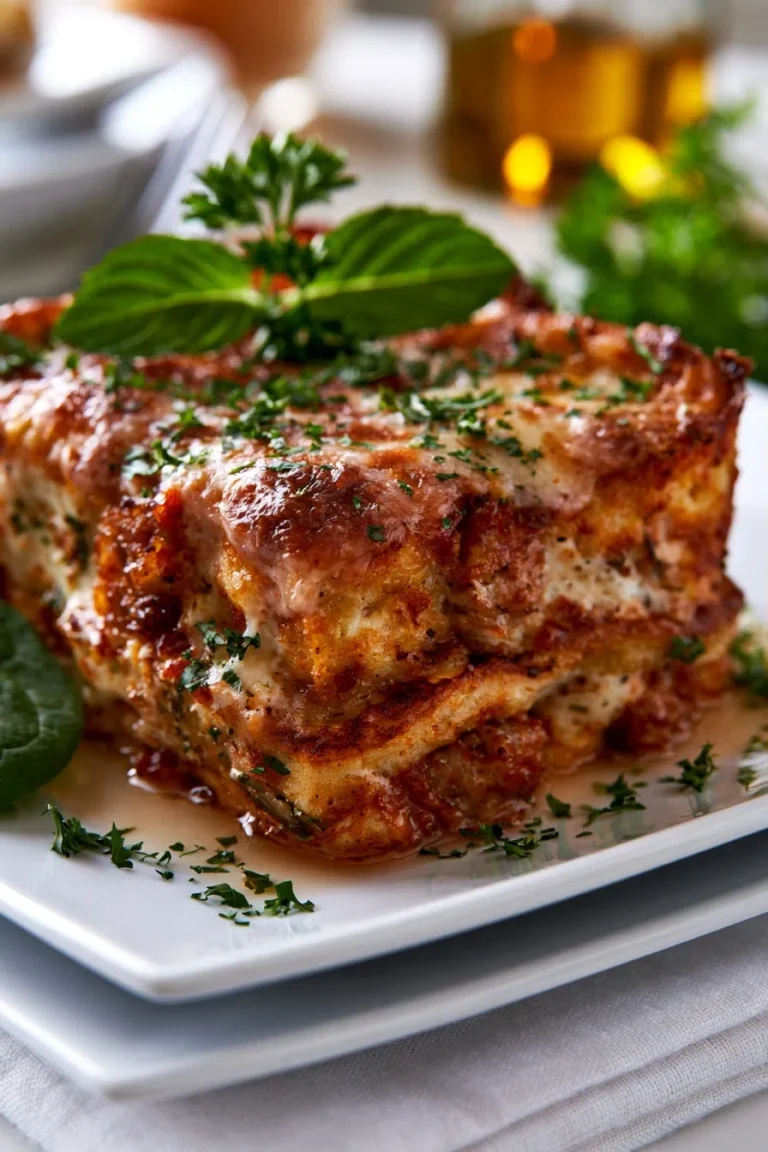
Best Ever Cheesy Potato Breakfast Casserole: Your New Weekend Favorite!
There’s nothing quite like a lazy Sunday morning, the smell of coffee brewing, and the promise of a hearty, comforting breakfast. For me, that perfect picture often involves a big pan of Cheesy Potato Breakfast Casserole. It’s a dish that holds so many cherished memories. I first stumbled upon a variation of this recipe years ago when hosting a large family gathering, needing something substantial and crowd-pleasing that could be prepped ahead of time.
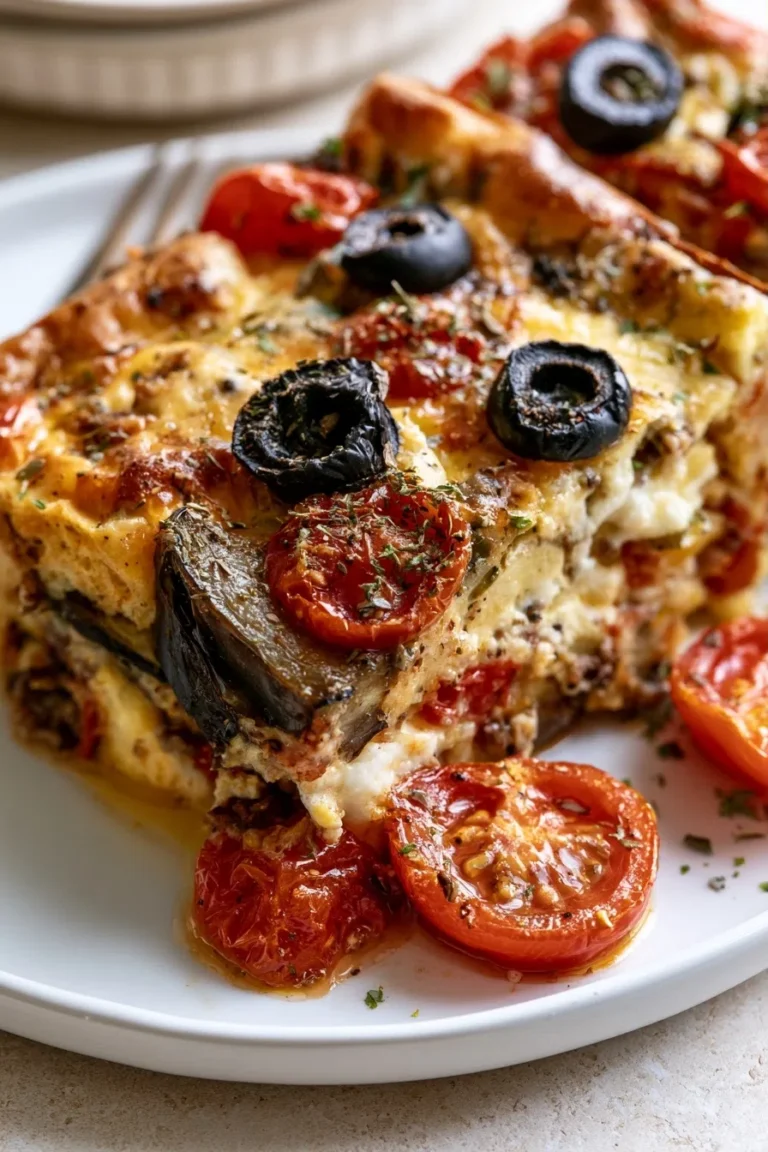
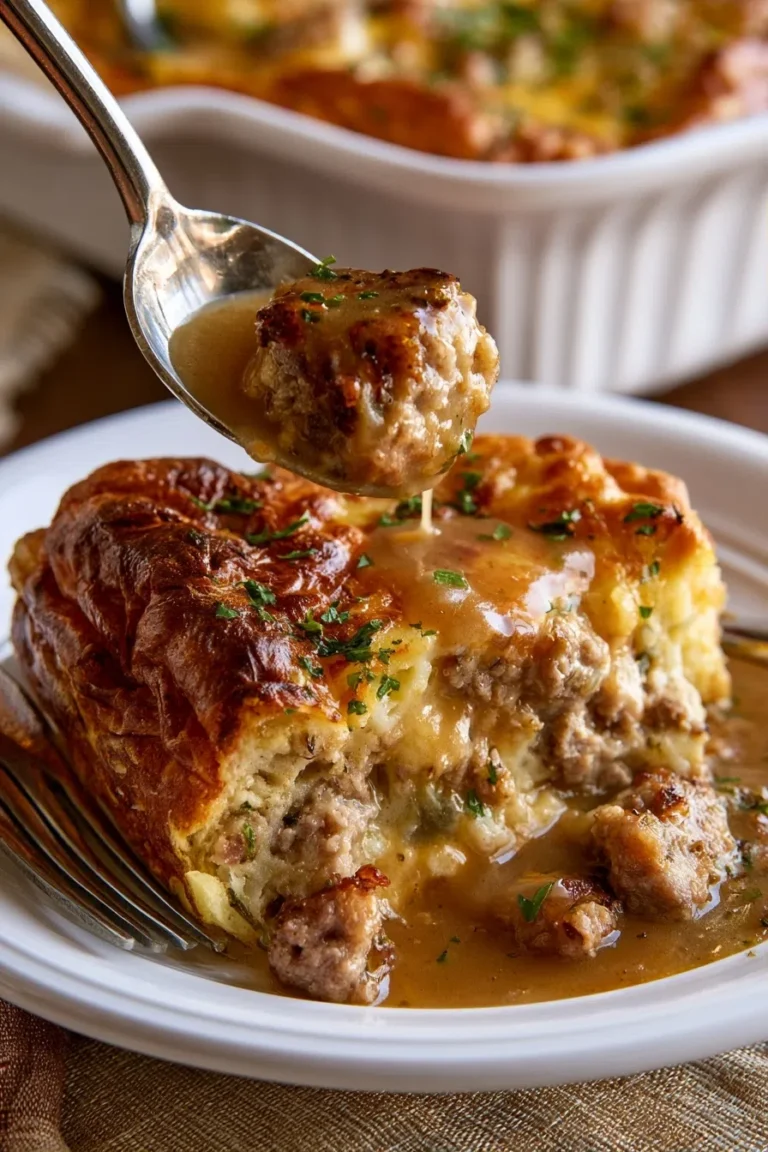
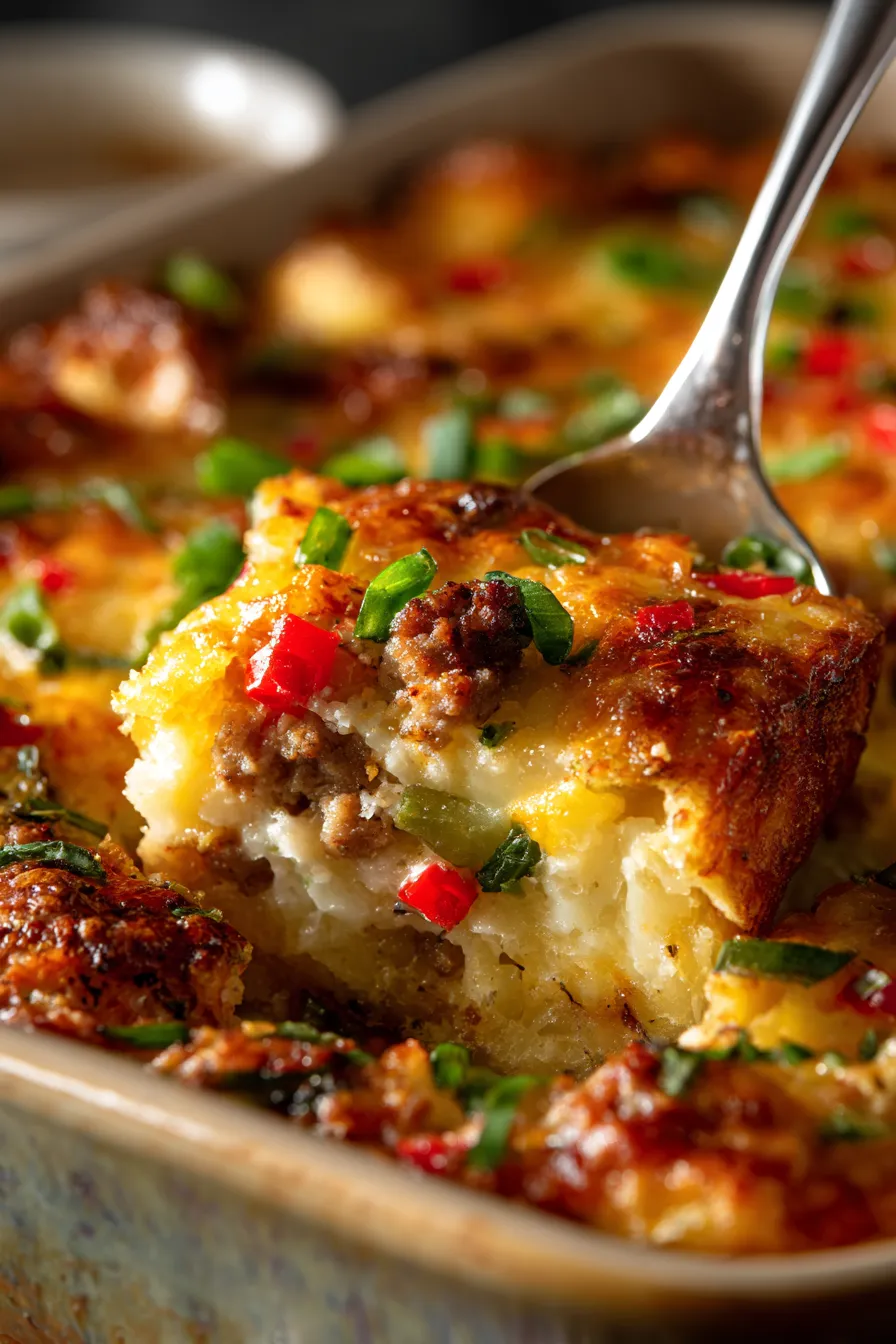
That day, the kitchen was a whirlwind of activity, but this casserole emerged from the oven, bubbling and golden, instantly bringing smiles to everyone’s faces. It quickly became our go-to for holiday brunches, impromptu potlucks, and even busy weeknight dinners when breakfast-for-dinner was the only answer. The combination of crispy potatoes, savory sausage, and an abundance of gooey cheese makes it truly irresistible, a classic comfort food that always hits the spot.
This particular version has been tried, tested, and perfected over countless mornings, earning its place as a certified family favorite. It’s incredibly easy to throw together, seriously delicious, and an absolute lifesaver when you need a simple breakfast solution that feels gourmet. Get ready to bake up a batch of pure happiness that will have everyone asking for seconds!

Why You’ll Love This Cheesy Potato Breakfast Casserole
❤️ Here are just a few reasons why this Cheesy Potato Breakfast Casserole will become a staple in your kitchen:
- Effortless Meal Prep: This recipe is incredibly simple to assemble, making it perfect for busy mornings. You can even prepare it the night before and simply pop it in the oven when you wake up, allowing you to enjoy a relaxing start to your day without any last-minute stress.
- Feeds a Crowd: Whether you’re hosting a family brunch, a holiday gathering, or just need to feed a hungry family, this casserole easily serves a good number of people. It’s a fantastic option for potlucks and communal meals because it travels well and reheats beautifully.
- Ultimate Comfort Food: There’s something undeniably comforting about a warm, cheesy, potato-packed dish. It’s the kind of food that wraps you in a hug, perfect for chilly mornings or any time you need a little extra coziness.
- Customizable & Versatile: Don’t like sausage? Swap it for bacon or ham! Prefer a different cheese? Go for it! This casserole is a blank canvas for your culinary creativity. You can easily adjust ingredients to suit dietary preferences or whatever you have on hand.
- Kid-Friendly Favorite: The familiar flavors of potatoes, cheese, and breakfast meat make this casserole a huge hit with kids and adults alike. It’s a great way to sneak in some veggies without any complaints.
- Freezer-Friendly: Leftovers? Unlikely, but if you do have any, this casserole freezes wonderfully. This makes it an ideal choice for meal prepping individual portions for quick breakfasts throughout the week.
- Satisfying & Hearty: Packed with protein from eggs and sausage, and carbs from the potatoes, this casserole is a complete meal that will keep you feeling full and energized all morning long. No mid-morning hunger pangs here!
- Budget-Friendly Ingredients: Made with common, affordable ingredients, this recipe won’t break the bank. It’s a smart choice for delicious meals on a budget, utilizing pantry staples you likely already have.
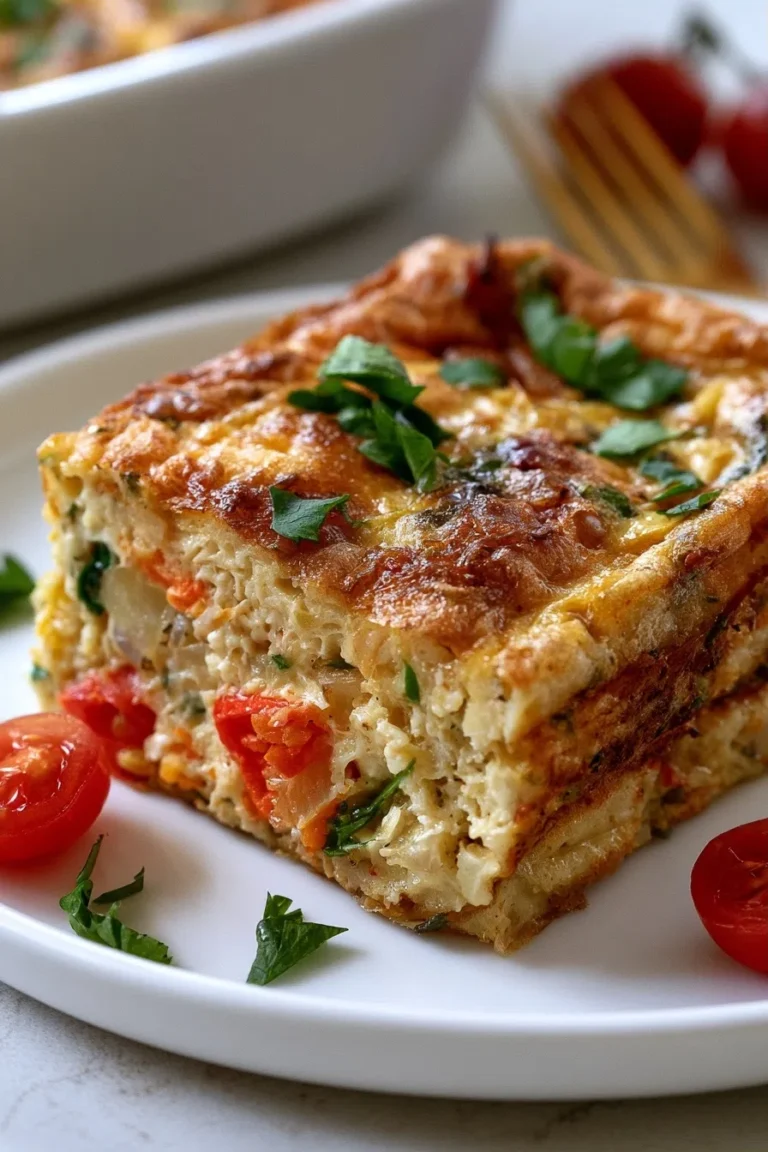
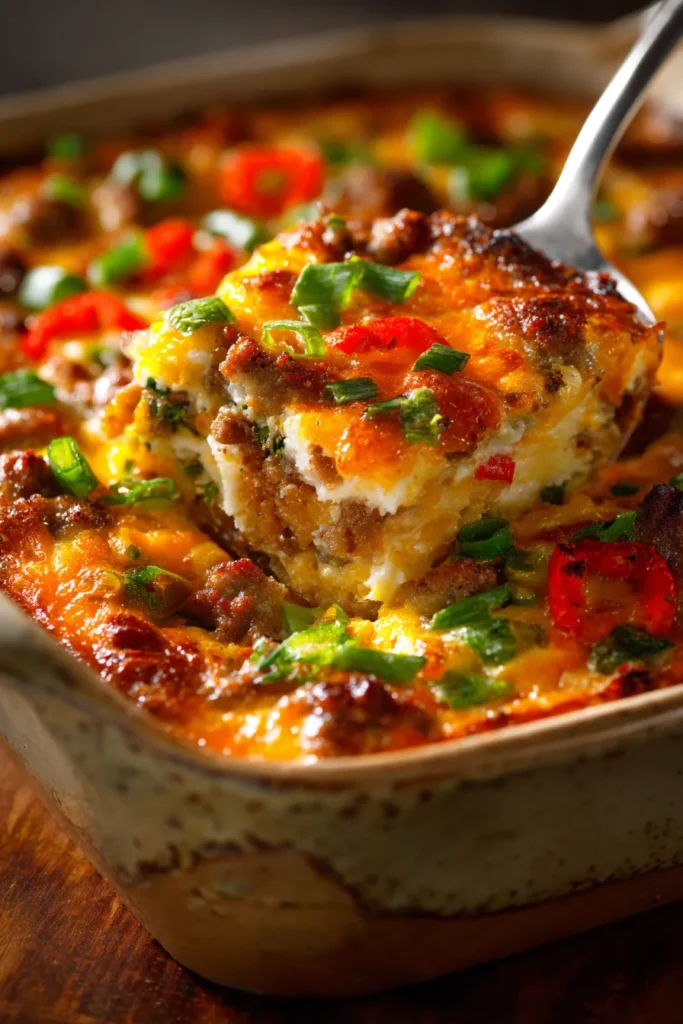
- Impressive Presentation: Despite its ease, this casserole looks absolutely stunning when it comes out of the oven. The golden-brown crust and bubbling cheese make it a showstopper, sure to impress your guests.
What You Need
You only need a few simple pantry staples for this recipe! We’re talking about hearty frozen hash browns, fresh eggs, creamy milk, plenty of sharp cheddar cheese, and your favorite breakfast sausage, plus a few aromatic vegetables. Check the full printable recipe card below for detailed measurements and any optional add-ins.

💡 Expert Tips for the Best Cheesy Potato Breakfast Casserole
- Thaw Your Hash Browns: For the best texture, always thaw your frozen hash browns completely before mixing. This prevents a watery casserole and ensures they cook evenly. You can do this overnight in the fridge or spread them out on a baking sheet at room temperature for an hour. Patting them dry with paper towels can also help achieve crispier results.
- Don’t Skimp on Seasoning: Eggs and potatoes love salt and pepper! Make sure to season generously throughout the layers – with the sausage, the potatoes, and the egg mixture. A pinch of garlic powder or onion powder can also elevate the flavor profile beautifully.
- Pre-cook Your Meat and Veggies: Always brown your sausage and sauté your onions and bell peppers before adding them to the casserole. This ensures they are fully cooked, flavorful, and prevents the casserole from becoming greasy. It also helps to develop deep, rich flavors that permeate the entire dish.
- Choose Your Cheese Wisely: While cheddar is classic, feel free to experiment! A mix of sharp cheddar and Monterey Jack, or even some pepper jack for a little kick, works wonderfully. Always shred your own cheese from a block – pre-shredded cheeses often contain anti-caking agents that can affect melt and texture.
- Avoid Overfilling: Be mindful of your casserole dish size. An overfilled dish can bubble over in the oven, creating a messy situation. Leave about an inch of space from the top.
- Rest Before Serving: Just like a steak or a roast, letting your casserole rest for 5-10 minutes after it comes out of the oven allows the eggs to set fully and the cheese to firm up slightly. This makes for cleaner slices and prevents the casserole from falling apart when served.
- Golden Brown Perfection: If your casserole isn’t as golden on top as you’d like, you can carefully place it under the broiler for 1-2 minutes. Keep a very close eye on it to prevent burning! This step gives it that appealing, caramelized crust.
- Prevent a Soggy Bottom: Some people like to par-bake their hash browns for 10-15 minutes before adding other ingredients. This step can help create a crispier potato base, especially if you prefer extra texture.
- Cover During Initial Bake: If you find the top browning too quickly before the center is cooked through, loosely cover the casserole with aluminum foil for the first 20-30 minutes of baking. Remove the foil for the last 15-20 minutes to allow the top to brown beautifully.
Variations & Substitutions
This Cheesy Potato Breakfast Casserole is incredibly adaptable! Don’t be afraid to make it your own.
- Meat Lovers: Swap sausage for crumbled bacon, diced ham, or even shredded chicken. You can also use a combination of different meats for a more complex flavor.
- Vegetarian Option: Omit the meat entirely and add more veggies like sautéed mushrooms, spinach, zucchini, or sun-dried tomatoes. Black beans or corn would also be delicious additions.
- Spice It Up: Add a pinch of red pepper flakes to the egg mixture, or use pepper jack cheese for a subtle kick. A dash of hot sauce or a few slices of jalapeño will really bring the heat.
- Herbaceous Freshness: Stir in some fresh chopped chives, parsley, or even a hint of dill into the egg mixture or sprinkle on top before serving for a burst of fresh flavor.
- Dairy-Free Option: Use a plant-based milk (like unsweetened almond milk) and your favorite dairy-free shredded cheese substitute.
- Gluten-Free: This recipe is naturally gluten-free if using plain hash browns and ensuring your breakfast sausage is also GF. Always check labels!
- Keto/Low-Carb: While this recipe relies on potatoes, you can create a low-carb version by replacing hash browns with riced cauliflower or finely chopped broccoli florets. Adjust baking time as needed.
Storage & Freezing
This casserole is a meal prep superstar! Here’s how to store it and keep it fresh:
- Refrigeration: Leftovers can be stored in an airtight container in the refrigerator for up to 3-4 days.
- Reheating: For individual servings, reheat in the microwave until warm. For larger portions, cover loosely with foil and reheat in a preheated oven at 300°F (150°C) for about 15-20 minutes, or until heated through.
- Freezing: This casserole freezes beautifully!
- Baked Casserole: Once completely cooled, cut the casserole into individual portions. Wrap each portion tightly in plastic wrap, then aluminum foil, or place in freezer-safe containers. Freeze for up to 2-3 months. Thaw overnight in the fridge before reheating.
- Unbaked Casserole: You can also assemble the casserole, cover it tightly with plastic wrap and then foil, and freeze it unbaked for up to 1 month. When ready to bake, thaw overnight in the fridge and then bake as directed, adding an extra 10-15 minutes to the baking time.
Frequently Asked Questions (FAQ)
Can I use fresh potatoes instead of frozen hash browns?
Yes, you can! You’ll need about 4-5 medium russet potatoes, peeled and shredded. Squeeze out as much excess moisture as possible after shredding to prevent a watery casserole. You may also want to par-cook them slightly by boiling or microwaving for a few minutes before adding to the casserole to ensure they cook through evenly.
How do I know when the casserole is fully cooked?
The casserole is done when the center is set, the edges are golden brown, and the cheese is bubbly. You can insert a knife into the center; if it comes out clean (without raw egg mixture), it’s ready. An internal temperature of 160°F (71°C) for the egg mixture is also a good indicator.
Can I make this casserole ahead of time?
Absolutely! This is one of the best things about this recipe. You can assemble the entire casserole (without baking) and cover it tightly with plastic wrap. Refrigerate overnight and bake it in the morning as directed, adding an extra 10-15 minutes to the baking time since it will be going into the oven cold.
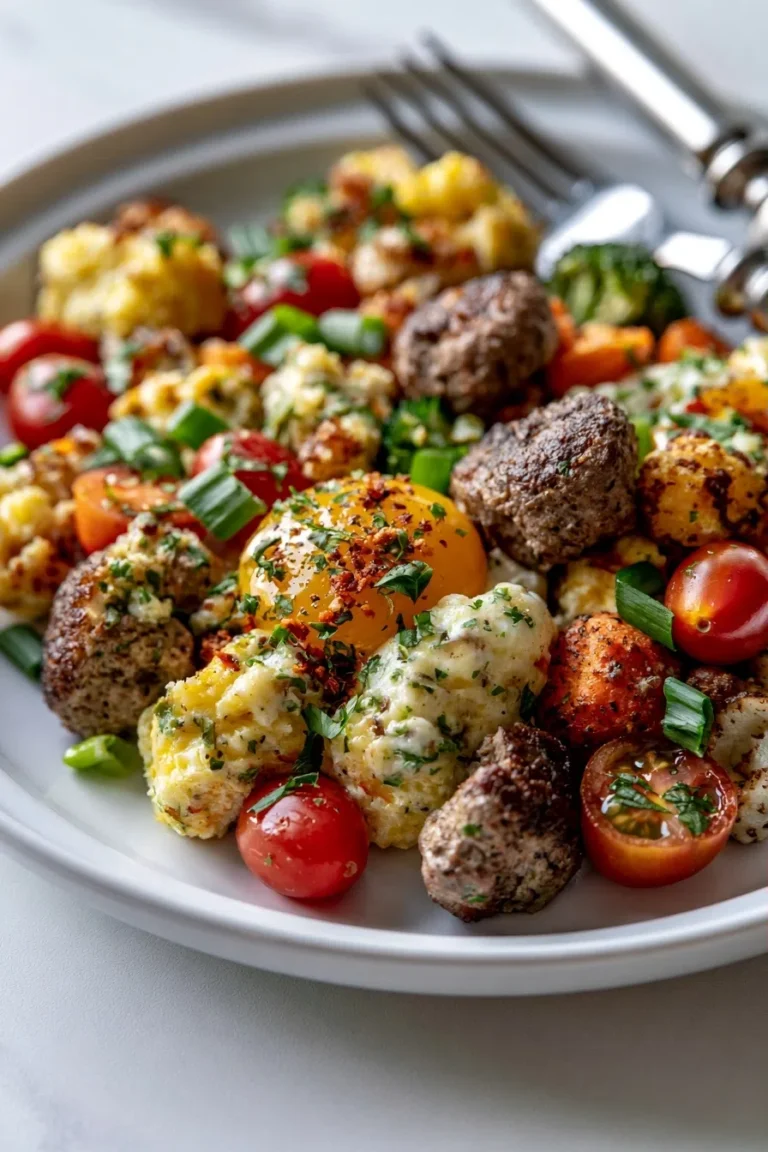
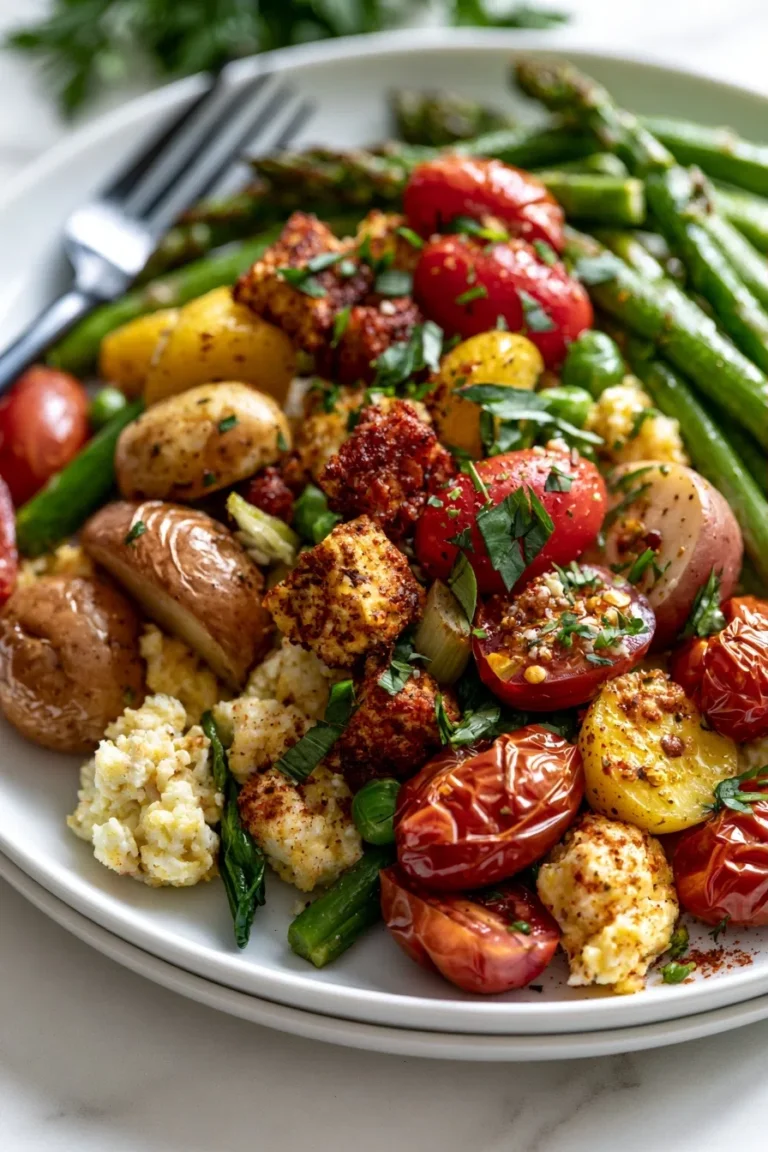
What can I serve with this breakfast casserole?
This casserole is quite hearty on its own, but it pairs wonderfully with fresh fruit salad, a side of toast or muffins, or a simple green salad for a lighter contrast. A drizzle of maple syrup or a dollop of sour cream on top also makes a delicious addition!
And there you have it, friends! Your new go-to recipe for a show-stopping, crowd-pleasing, and incredibly easy Cheesy Potato Breakfast Casserole. Whether it’s for a special occasion or just to make a regular morning feel a little more extraordinary, this dish is sure to become a beloved part of your culinary repertoire. Don’t forget to Pin this recipe for later so you can whip it up whenever that comfort food craving strikes!
Best Ever Cheesy Potato Breakfast Casserole – Easy & Delicious!
Ingredients
- 1 (30 oz) bag frozen shredded hash browns, thawed
- 1 lb breakfast sausage, cooked and crumbled
- 1 cup chopped yellow onion
- 1/2 cup chopped red bell pepper
- 8 large eggs
- 1 1/2 cups milk (whole or 2%)
- 1 tsp salt
- 1/2 tsp black pepper
- 1/4 tsp garlic powder (optional)
- 3 cups shredded sharp cheddar cheese, divided
- Fresh parsley or chives, for garnish (optional)
Instructions
- Step 1 Preheat oven to 375°F (190°C). Lightly grease a 9x13 inch baking dish.
- Step 2 In a large skillet, cook the breakfast sausage over medium heat until browned and crumbled. Drain any excess grease. Add the chopped onion and red bell pepper to the skillet and cook until softened, about 5-7 minutes. Set aside.
- Step 3 In a large bowl, whisk together the eggs, milk, salt, pepper, and garlic powder (if using) until well combined.
- Step 4 Spread half of the thawed hash browns evenly in the bottom of the prepared baking dish.
- Step 5 Sprinkle 1 cup of shredded cheddar cheese over the hash browns.
- Step 6 Evenly spread the cooked sausage, onion, and bell pepper mixture over the cheese layer.
- Step 7 Top with the remaining half of the hash browns.
- Step 8 Pour the egg mixture evenly over the hash browns and sausage, making sure to distribute it well.
- Step 9 Sprinkle the remaining 2 cups of shredded cheddar cheese over the top.
- Step 10 Bake for 45-55 minutes, or until the casserole is set in the center and golden brown on top. If the top starts to brown too quickly, you can loosely cover it with foil for the last 15-20 minutes.
- Step 11 Remove from oven and let stand for 5-10 minutes before slicing and serving. Garnish with fresh parsley or chives, if desired.